VMware vSphere 6 Update Manager Installation Guide
This is a basic step-by-step guide on how to install VMware vSphere 6 Update Manager. This setup may be more typical for smaller type of organizations with few hosts and small numbers of virtual machines. In this instance, we will be installing Update Manager on the same machine as the vCenter installation performed on this previous blog post.
Installation of Update Manager
Mount the vCenter 6 ISO image and click on Autorun.exe. Select Server under vSphere Update Manager. Since we already have SQL installed on the same machine used for vCenter, we will uncheck the “Use Microsoft SQL Server 2012 Express as the embedded database”. You would uncheck this option also if you wish to utilize an external database. See the VMware vSphere 6 Update Manager Database article on how to create a new database and DSN entry.

Click OK.

Click Next.

Check the “I accept the terms…..” and click Next.

In most typical setups with internet access, you would enable the option to “Download updates from default sources…” unless you have a shared repository. Click Next.

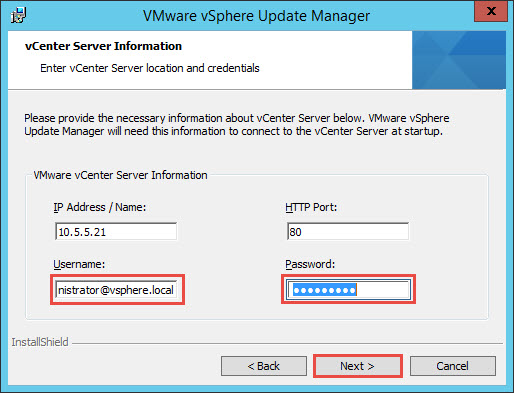
Since the installation is on the same server as vCenter, the IP address is already populated. Enter a username and password to be used for the service. In this instance, we utilize the default account [email protected]. Click Next.
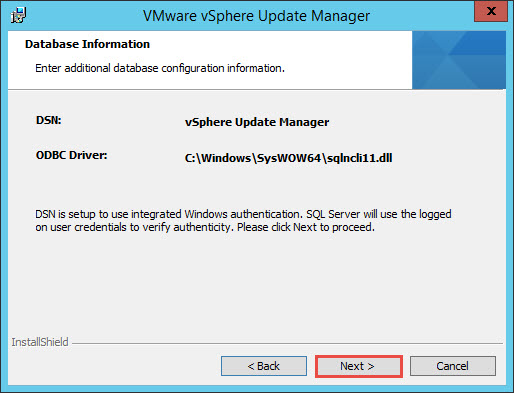
In the Database Options and Data Source Name (DSN), we need to enter an existing DSN. This entry was created in the VMware vSphere 6 Update Manager Database article. (The name used here was an example, and you can create a DSN with a different name). Click Next.

Click Next.
Assuming that this installation of Update Manager will have access to the Internet or via proxy, we will check the option “Yes, I have Internet connection ….". Click Next.

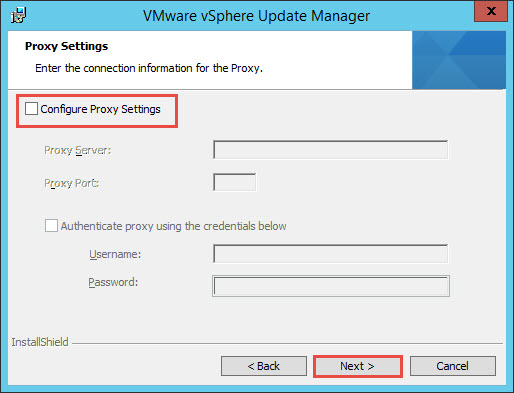
You can configure the proxy settings here. In this example, no proxy configuration was needed. Click Next.
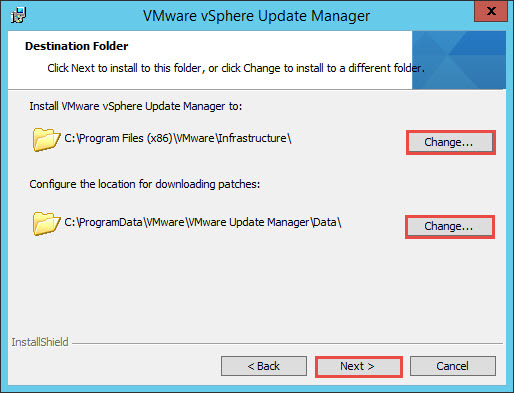
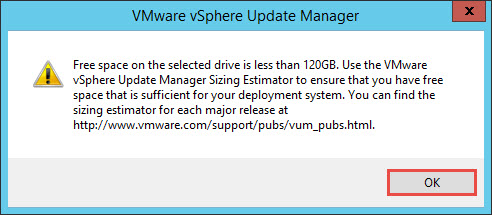
On the Destination Folder, you will need to decide where you will be installing Update Manager and also define the location for downloading patches. Typically, most administrators would configure a different drive for storing downloading patches. Click Next.
If you decide to utilize the default installation/storage locations and do not have enough storage, you will receive the following message. The message is a warning but the installation will let you proceed. Click OK.
Click Install.

Click Finish.
References on VMware vSphere 6 Update Manager
VMware vSphere 6 Update Manager Database
vSphere Update Manager Download Service Installation (Coming)