Guide to Configuring vRealize Operations Manager Master Node
In this post, we will perform the initial configuration of the first node, which will be the vRealize Operations Manager master node. We will first connect to the https://ipaddress of the node in order to configure the node.
Guidance on Operations Manager configuration
1. Connect to the https://ipaddress via a browser and click on the “New Installation” option.
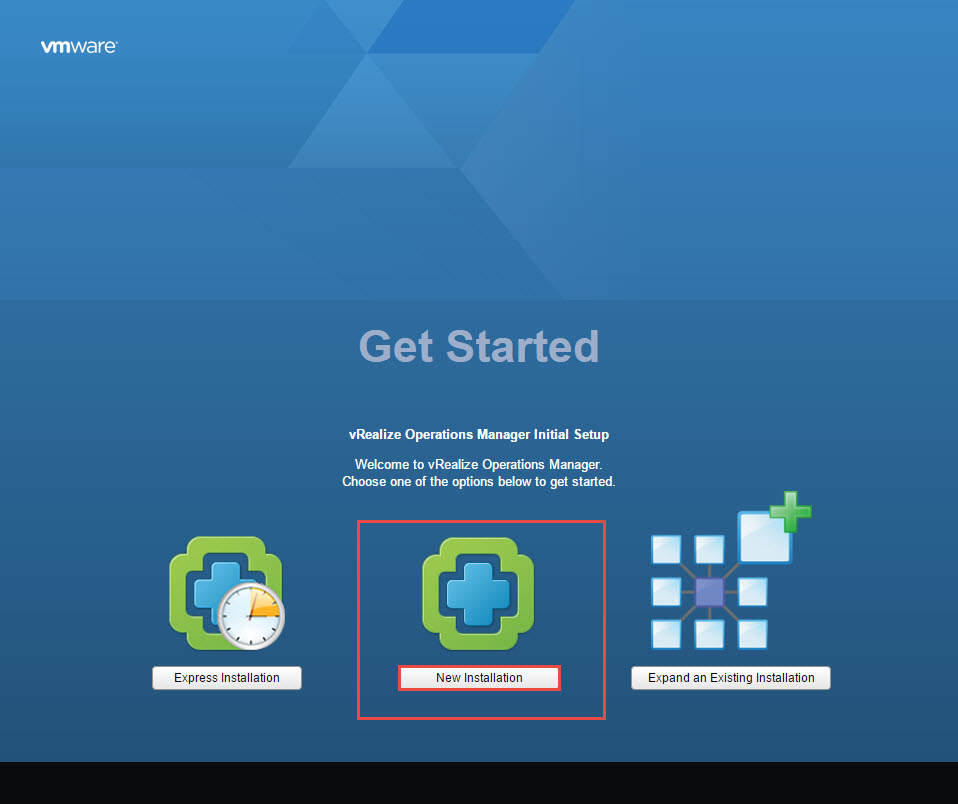
The Express Installation might be appropriate for smaller environments or a quick demo, our focus in this series of articles is to have a more enterprise level configuration.
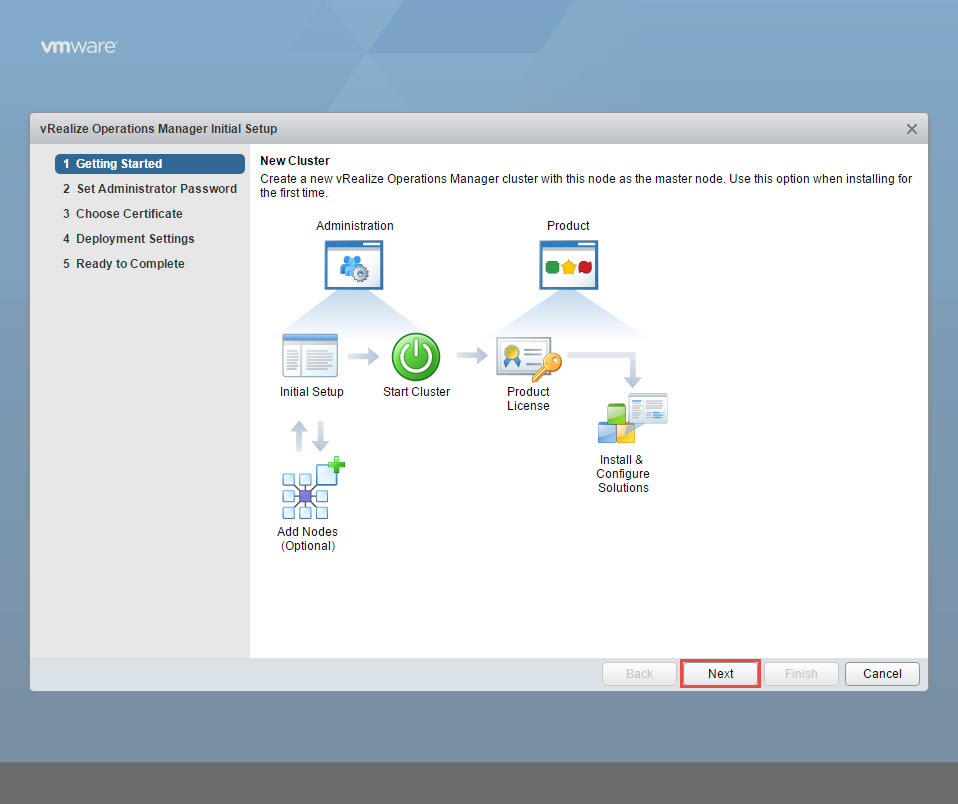
2. Click Next on the Getting Started screen.
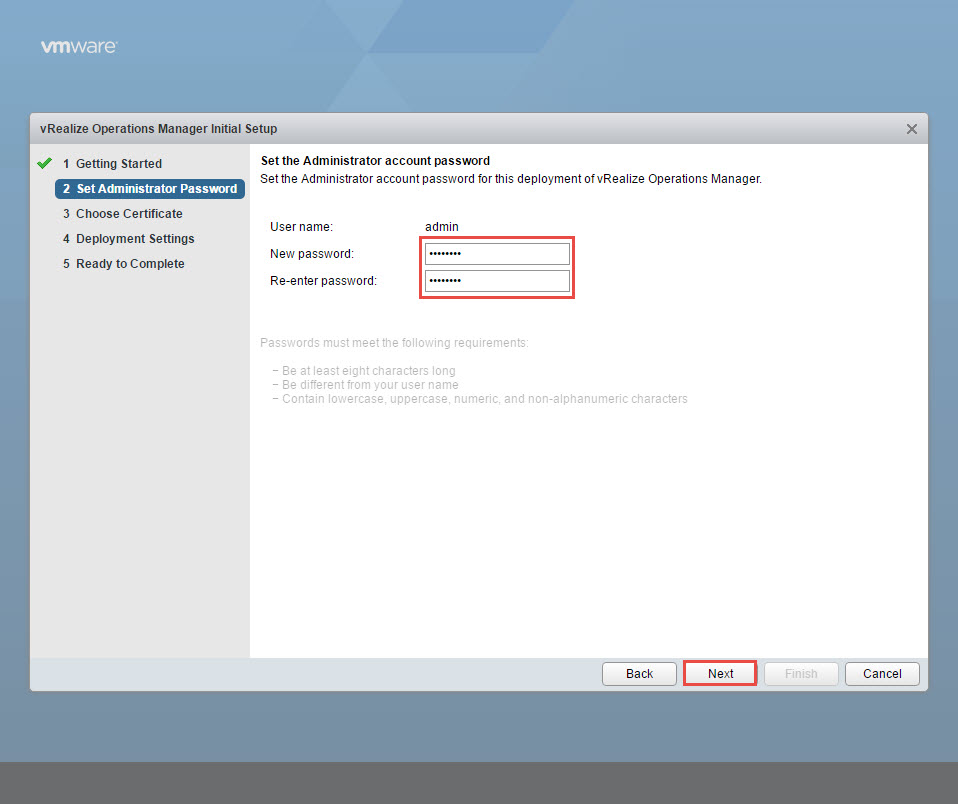
3. Enter a password and confirm it and click Next. The password must also need to meet certain complexity requirements but also confirm that the complexity requirements meet the requirements of your organization.
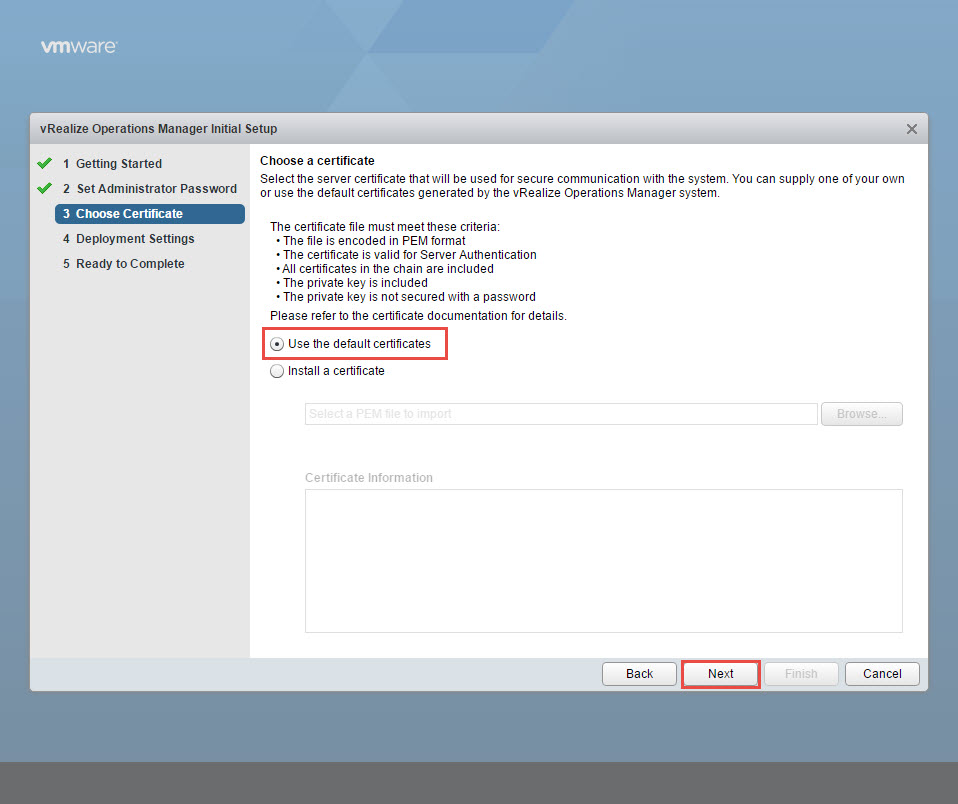
4. We will select the “Use the default certificates” and click Next. A follow-up article will discuss the process on generating and importing a our own digital certificate.
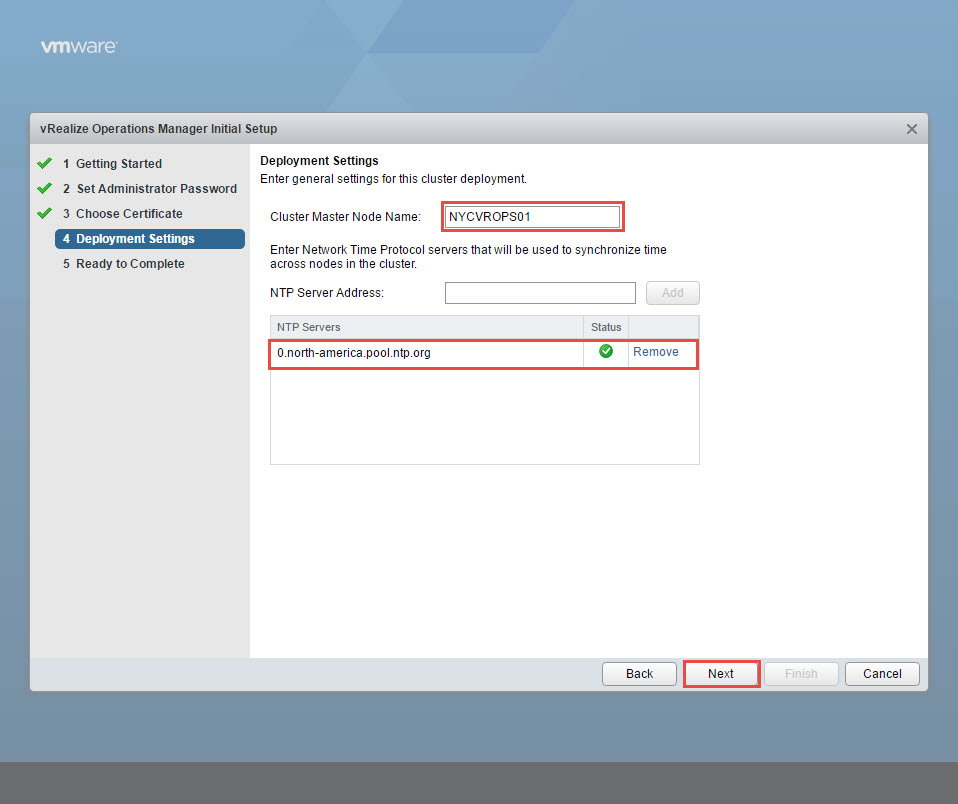
5. Enter the name for the Cluster Node Name. Enter the proper NTP server address for your organization and click Add. Then click Next.
It is important to configure the appropriate NTP server for your organization. The entry listed below is only for demonstration purposes.
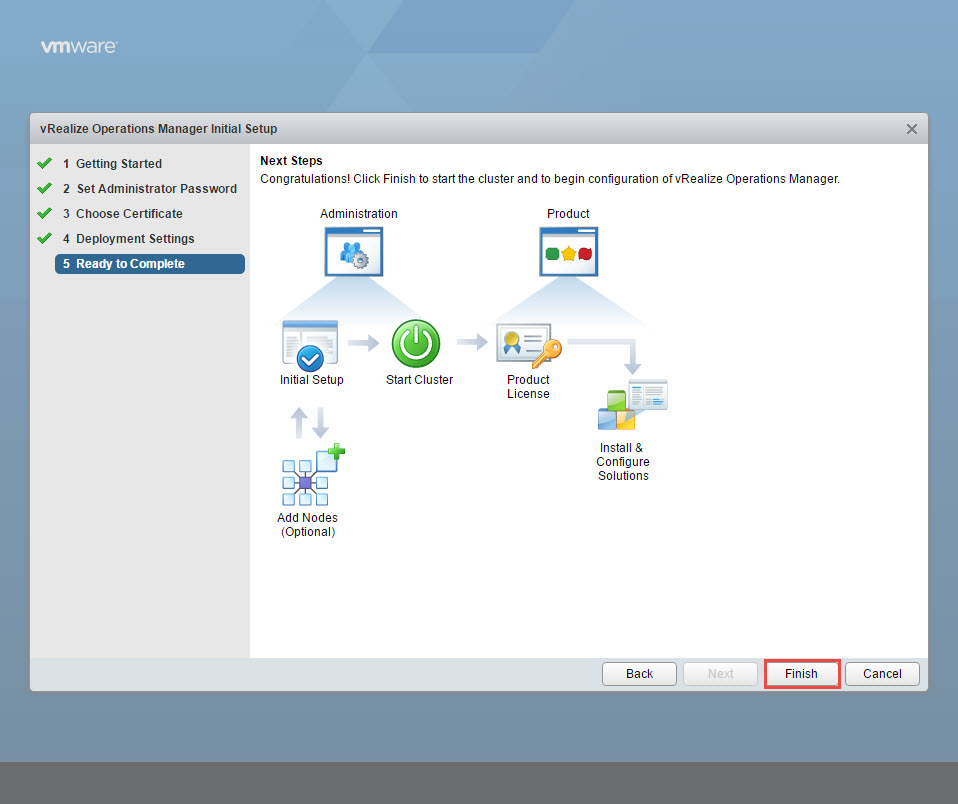
6. Click Finish.
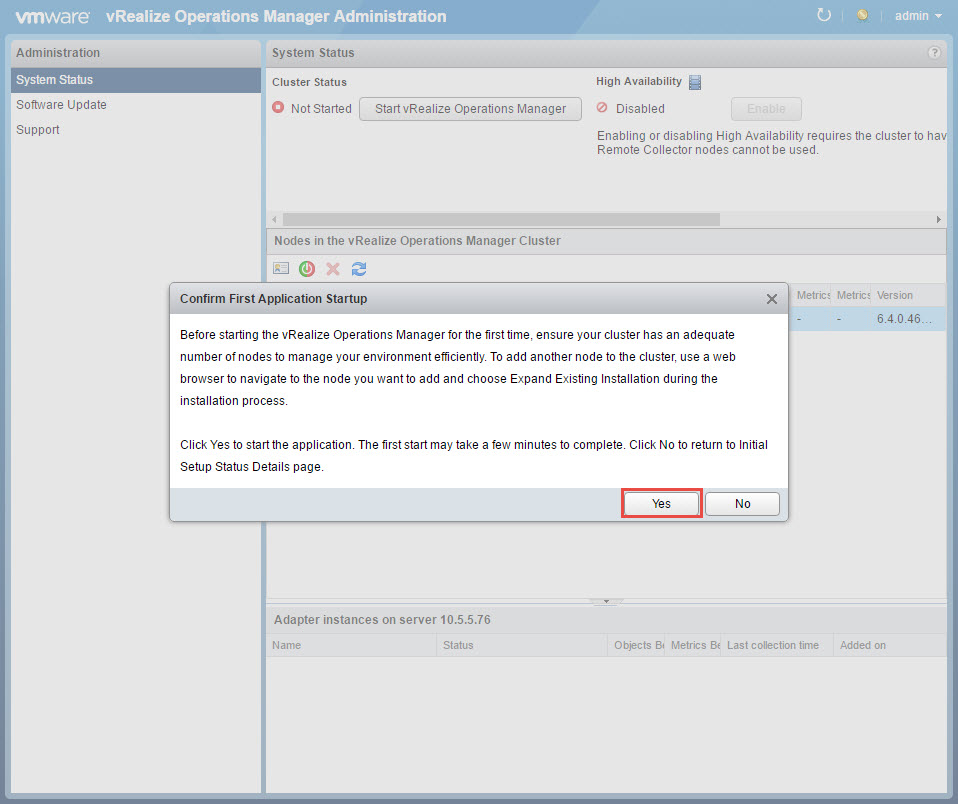
7. It may take a bit for the “Start vRealize Operations Manager” to become active. Once it does, click on it.

8. Click Yes on the Confirm First Application Startup.
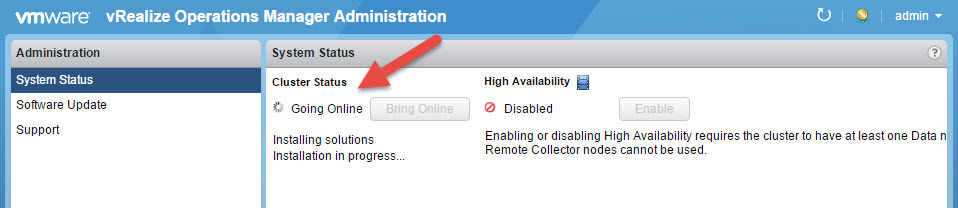
9. The initial configuration is a bit time-consuming so please be patient during this time. Assuming that you have allocated enough resources, the process should complete in due time.
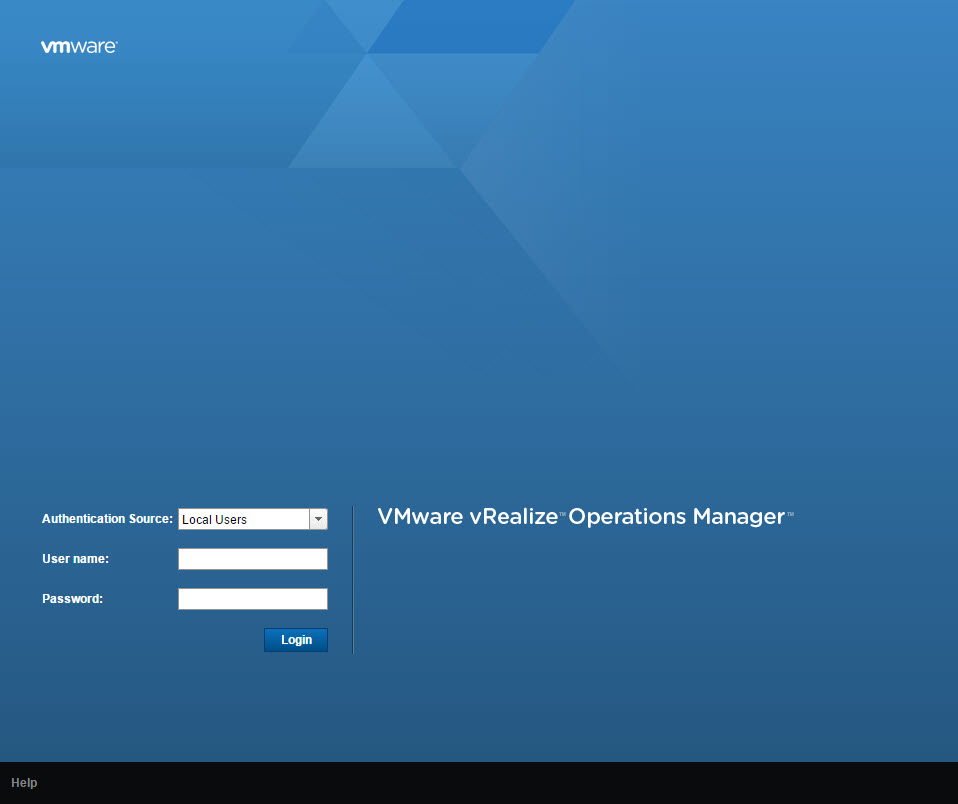
10. Once the process is complete, you will be redirected to the login page. Go ahead and login with the admin account and password the you have provided earlier in the process.
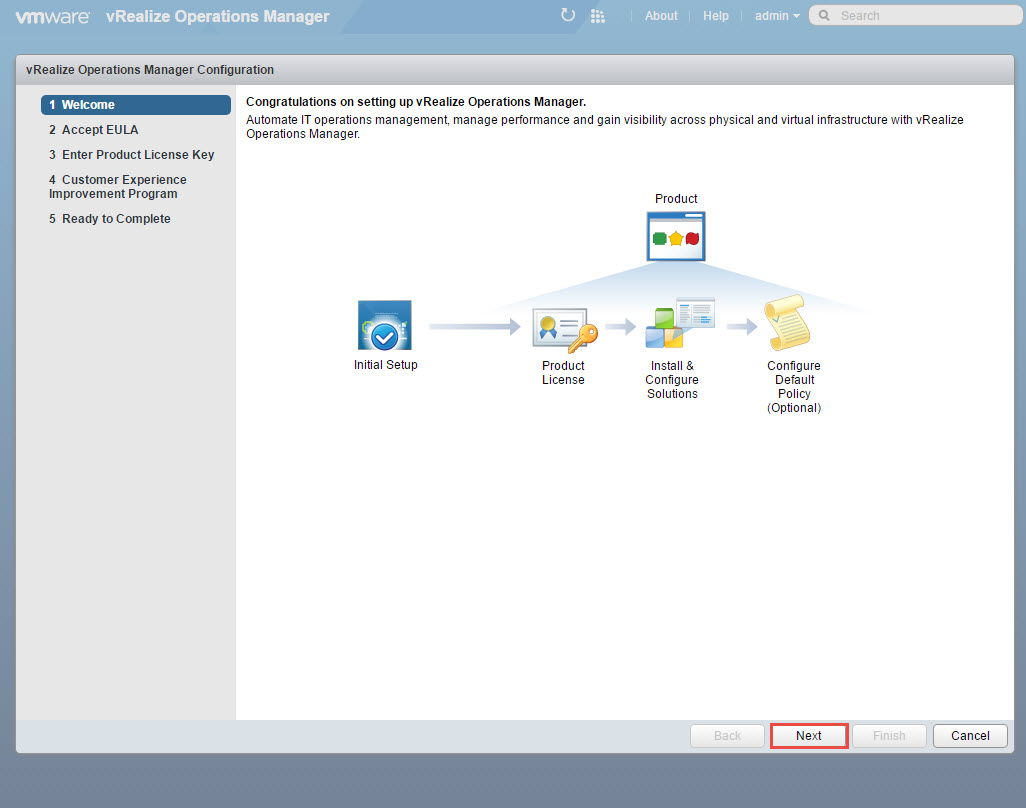
11. Click Next.
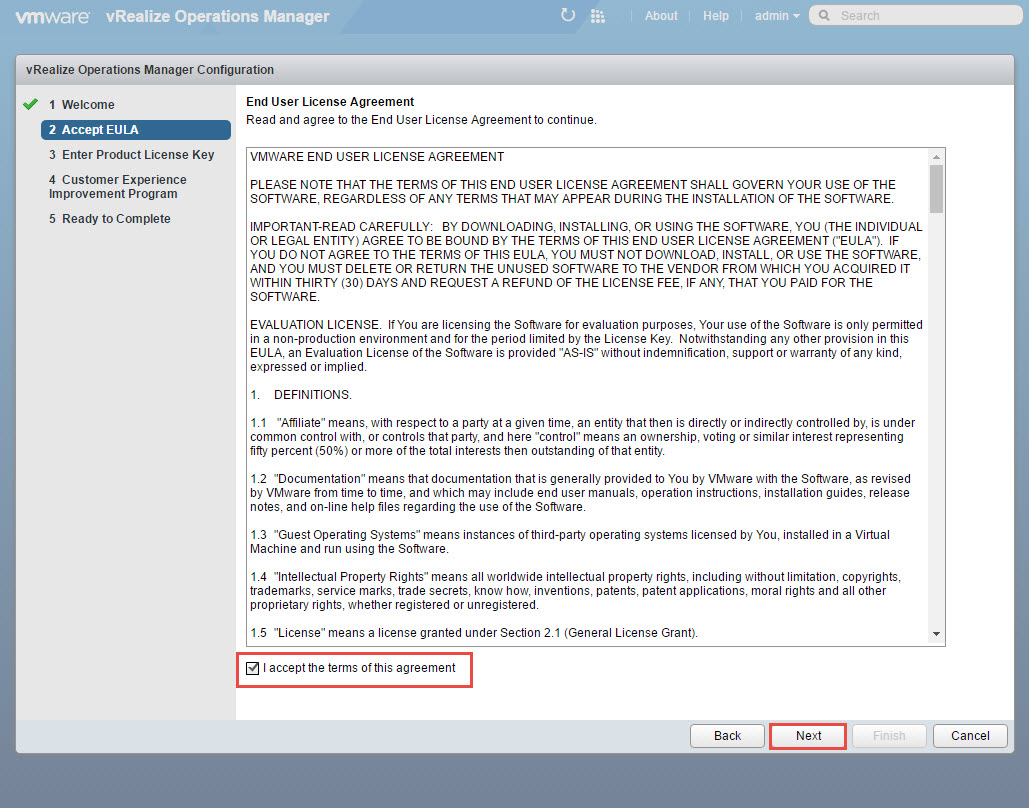
12. Check the “I accept the terms of this agreement” and click Next.
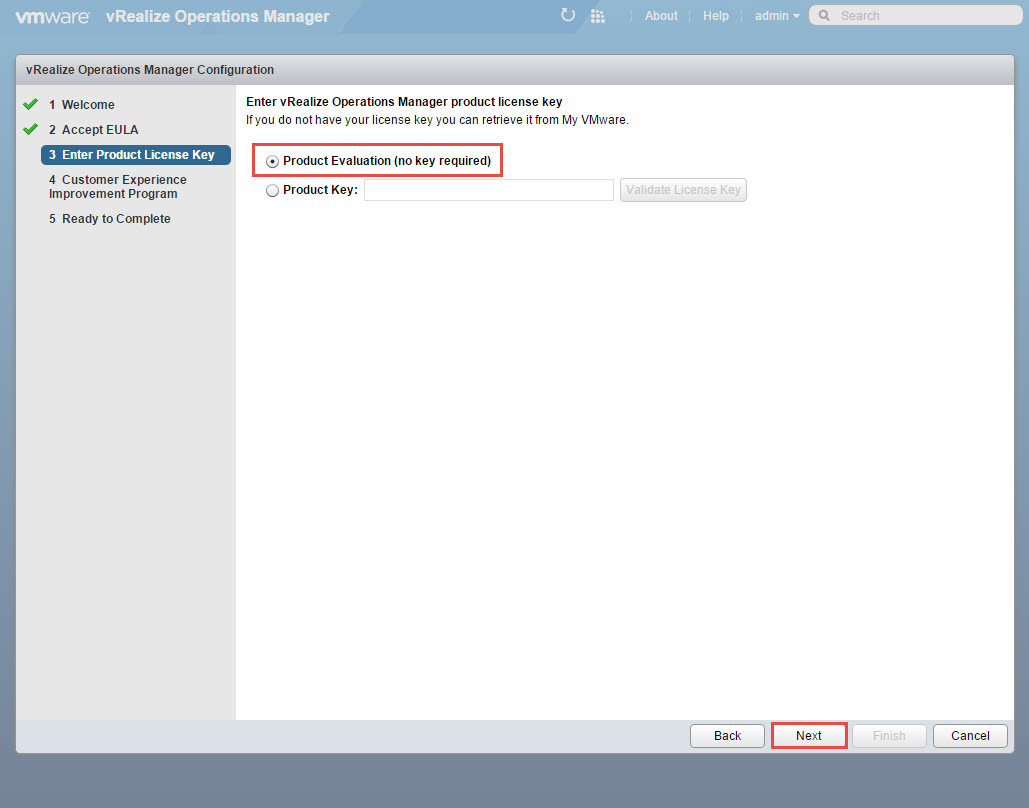
13. Since this configuration is for demonstrations purposes, we will select the “Product Evaluation (no key required)” option and click Next.
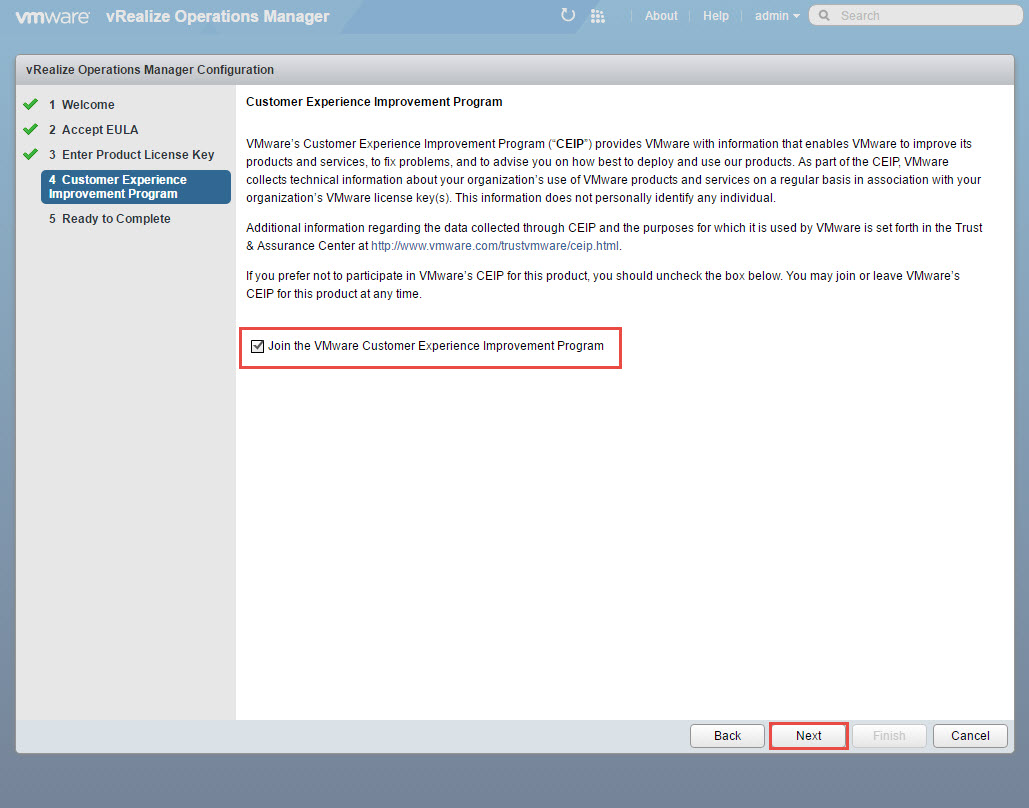
14. You may opt to “Join the VMware Customer Experience Improvement Program” and click Next.
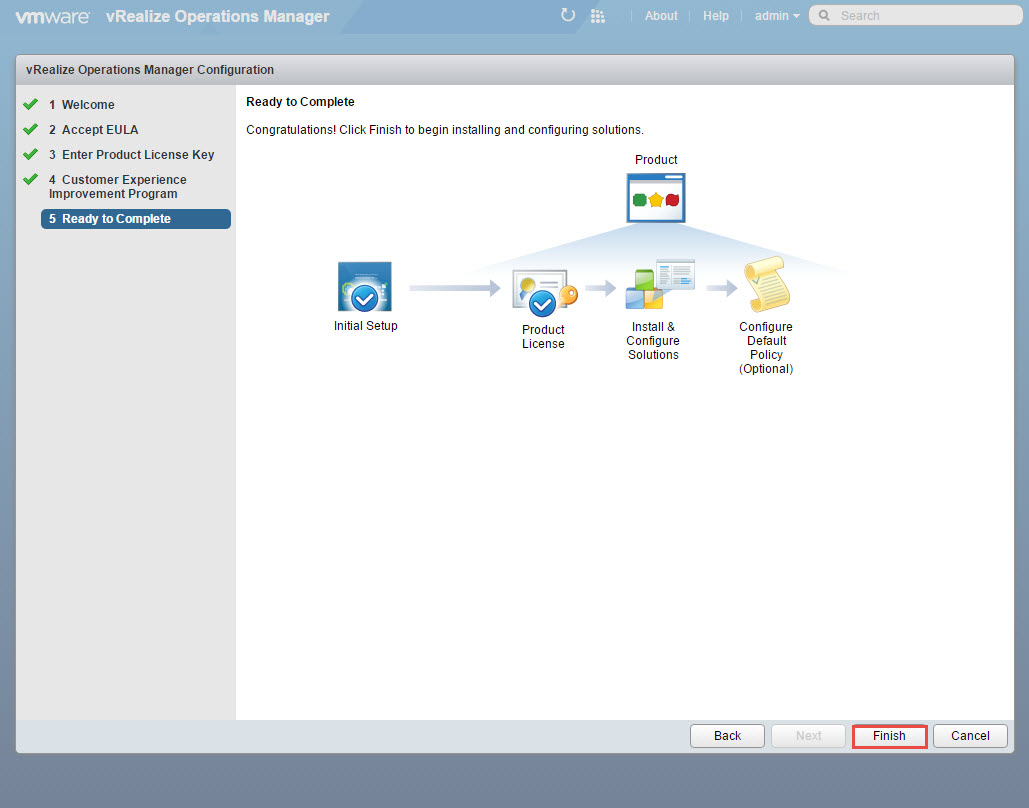
15. Click Finish.
16. You should be presented with the initial screen with a hint to configure a solution.
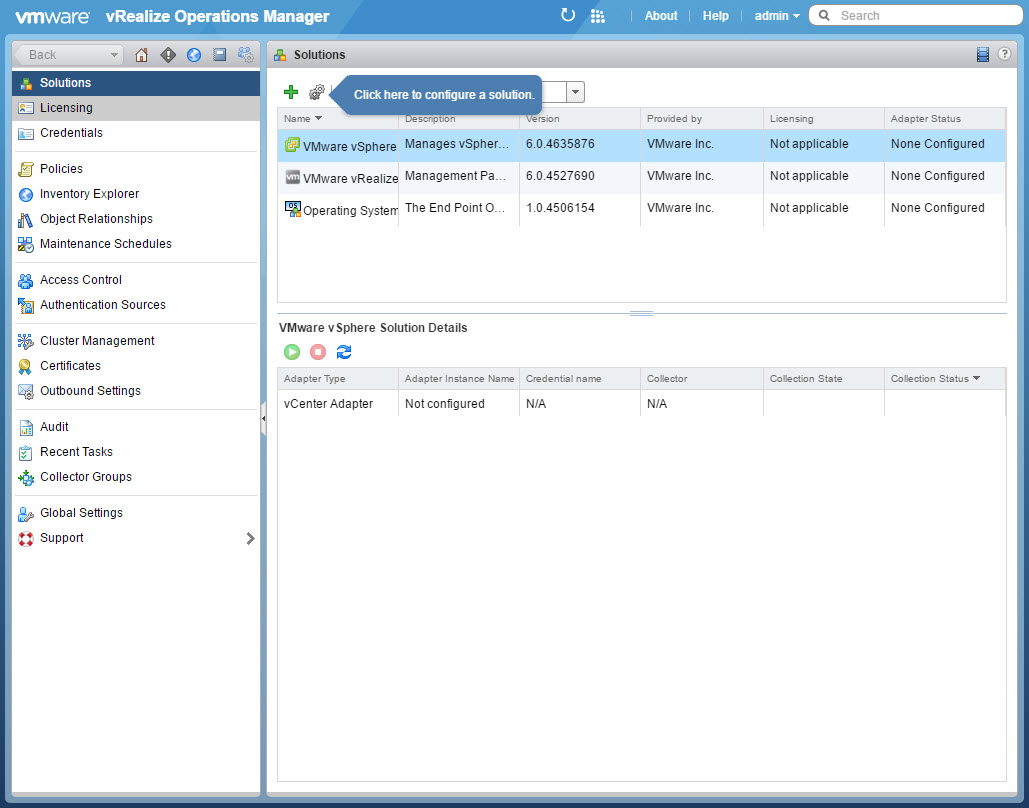
This completes the initial configuration.