Guide to Setting Up AD Authentication in vRealize Operations Manager
This is a step-by-step guide on how to enable Active Directory Authentication with vRealize Operations Manager. In this example, we will configure a group with Read-Only access to all objections within vRealize Operations Manager.
There are other authentication options which may be more appropriate for your environment, but this is a simple one to get you up and running.
Prerequisites before starting the configuration
Create Group in your Active Directory domain that will be used to provide Real-Only access to all objects to the vRealize Operations Manager environment.
Create an Active Directory service account that will be used to communicate with AD and retrieve members of the above group.
Configuration of Operations Manager Active Directory authentication.
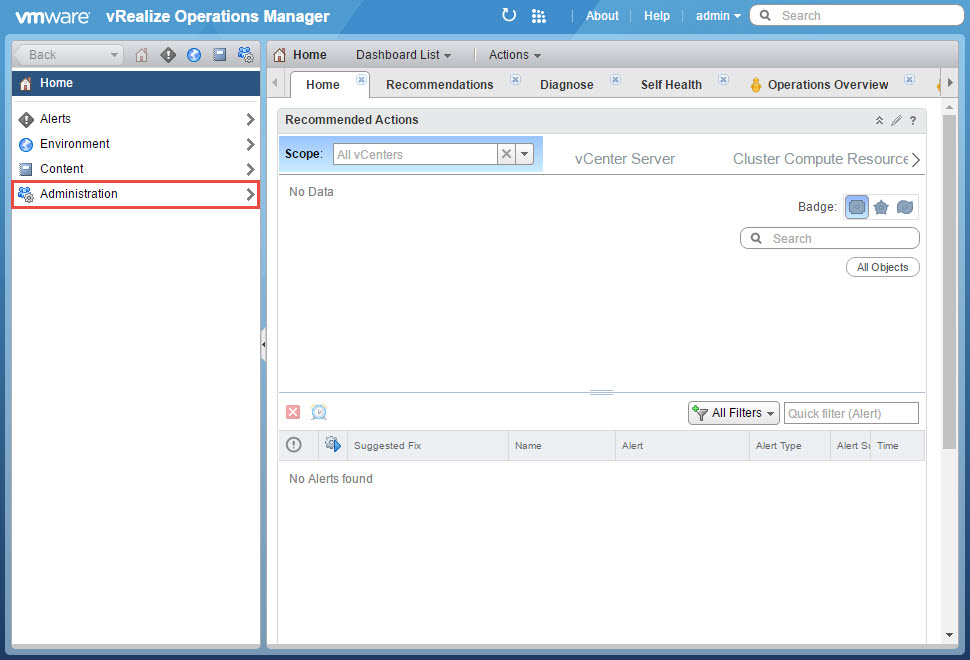
1. Login to the UI of vRealize Operations Manager, https://IPaddress. Click on Administration.
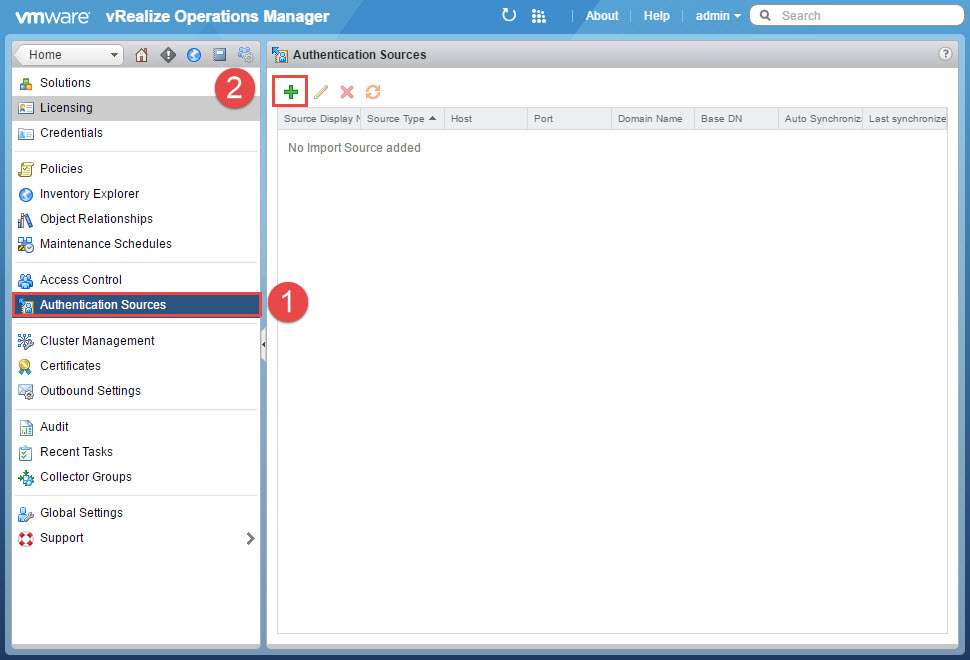
2. Click on “Authentication Sources” and then click on the small green “+” sign.
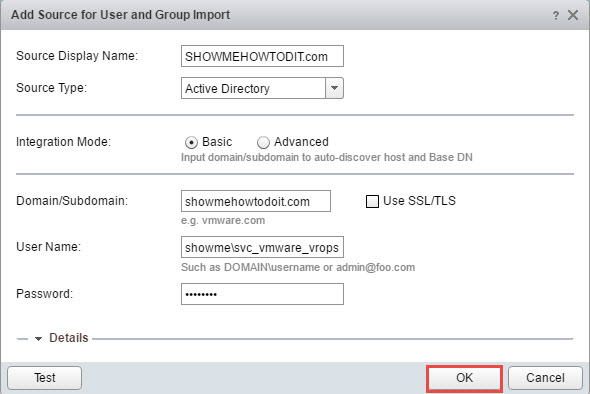
3. Enter a “Source Display Name”. This will be the value that will be shown when users logon to the system so you may want to pick something that is small. From the drop-down select “Active Directory”. For “Domain/Subdomain” enter the domain FQDN. Under “User Name”, use the service account created in Active Directory for this purpose and the password. Then click Test.
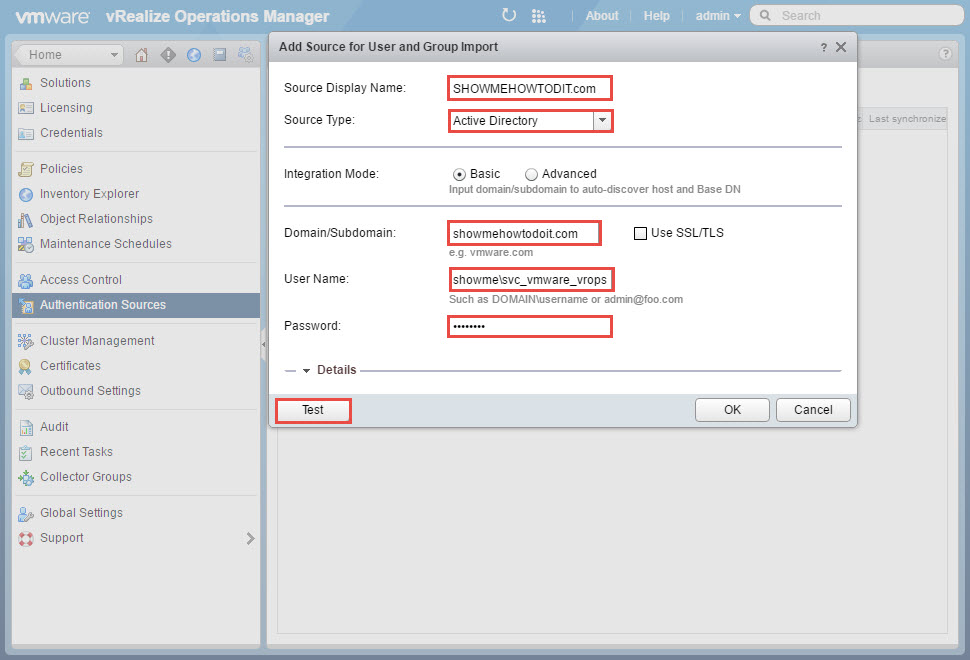
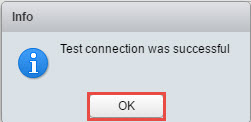
Click OK.
Note: If you have checked the “Use SSL/TLS” box and your Active Directory is configured with an SSL certificate, then you will receive an extra warning to confirm the AD certificate thumbprint.
4. After a successful test, click OK to proceed.
5. Navigate to “Access Control”, click on the “User Groups” tab and then click on the little group link.

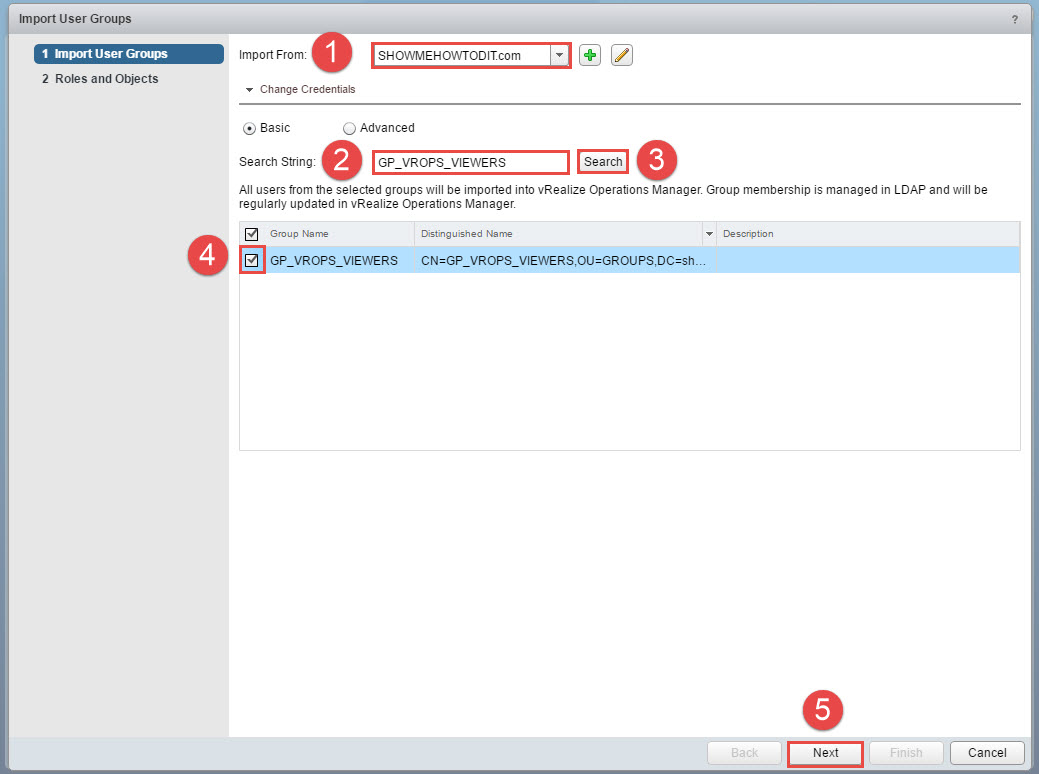
6. Select the domain from the Import From drop-down. In the Search String, enter the Active Directory group created and click Search. This should populate the group. Check the group and click Next.
7. In this scenario we will grant the ReadOnly role to this group and allow this group to access all the objects in the system. From the “Select Role” drop-down, select the ReadOnly role, check “Assign this role to the group” and also check the option “Allow access to all objects in the system”. Click Finish.

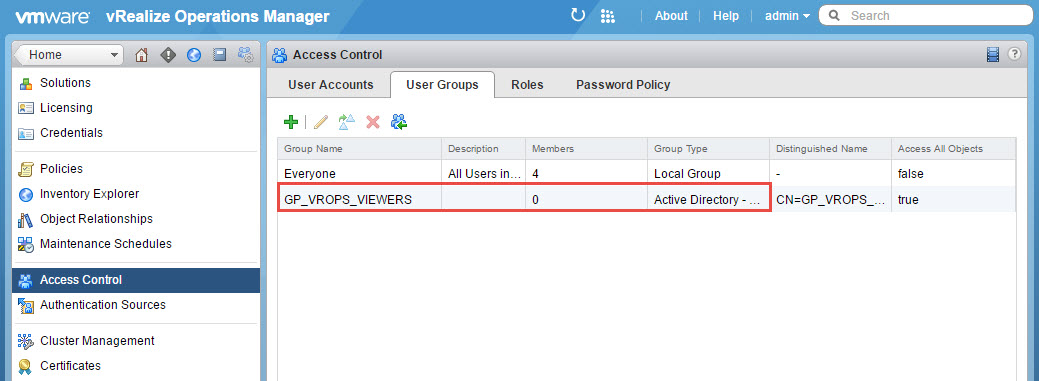
8. The group will be displayed in the “User Groups” tab. Logout and proceed to the next step to logon as an Active Directory user that belongs to the group configured.
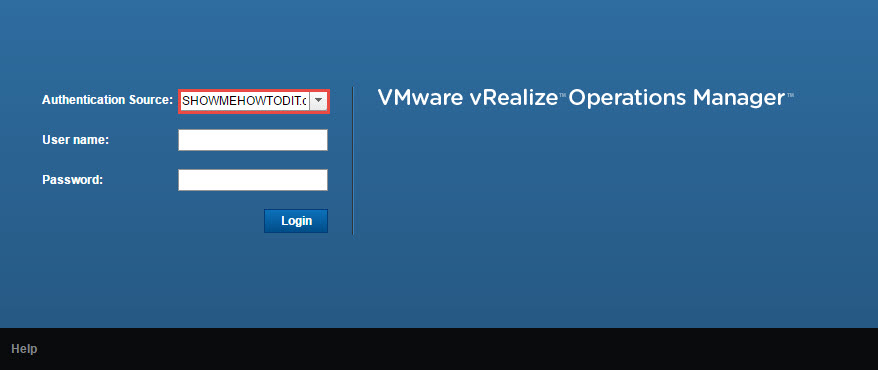
9. From the login screen “Authentication Source”, select the domain from the drop-down list and login.