Comprehensive Guide to Installing SQL Server 2012 - Part 2
This is Part 2 of the SQL 2012 step-by-step installation guide that includes the SQL replication functionality. It is a basic guide to get you up and running quickly.
SQL 2012 Step-by-Step Installation Guide - Part 1
SQL 2012 Step-by-Step Installation Guide - Part 2
Installation Configuration Settings
13. In our case we select the Default instance and click Next.
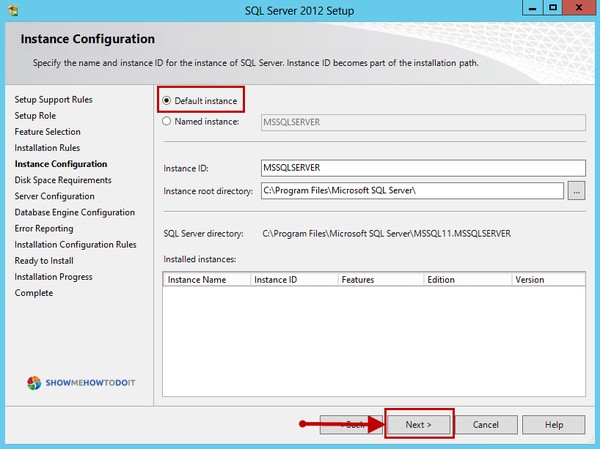
Note: Depending on your infrastructure, it may be best to create a different instance for each purpose. For example, we could have created an instance for CITRIX and an instance for SharePoint. Think of instances as a type of “virtual SQL servers” that each have their own administration.
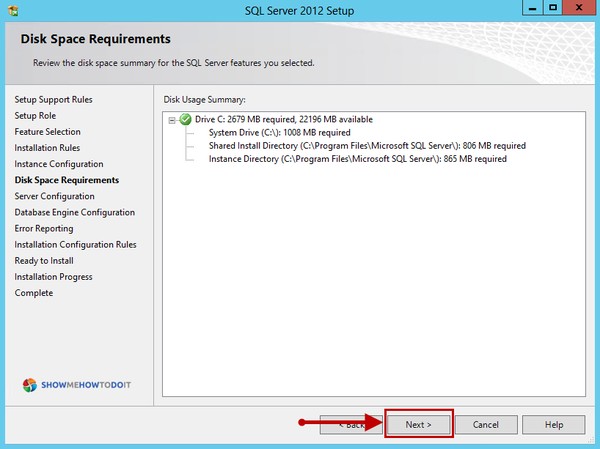
14. Click Next on the Disk Space Requirements
15. Click Next on the Server Configuration
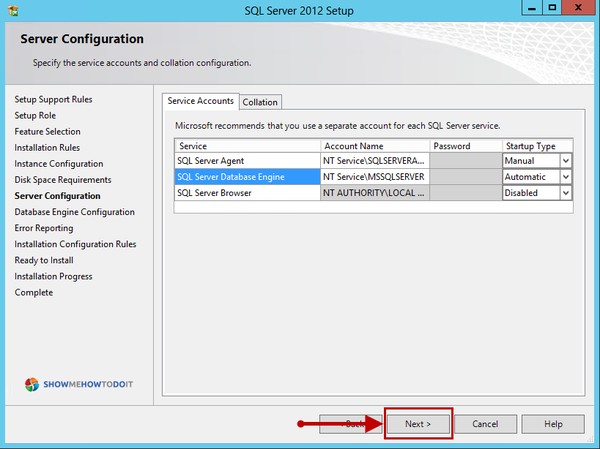
Note: As a best practice, you may consider creating domain accounts to be used instead of the built-in service accounts. Since these accounts are instance specific, you should consider using unique accounts.
Example:
The account for the SQL Server Database Engine could be named DOMAIN\svc_servername_instance with a complex password that never expires.
Note: In our situation the default collation (see Collation) tab is fine, but in case you need to use a different language this is the section to do it. You can always change the collation later, but it is much easier to do it at this step here.
16. Click on “Add Current User” and click Next.
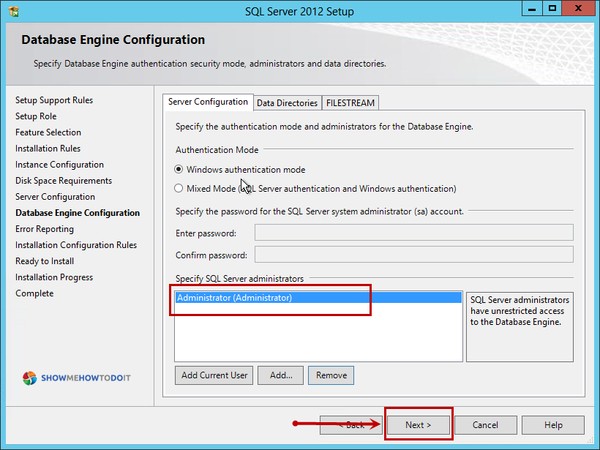
Note: In our situation the current user is the local administrator. But you should select an appropriate account such as a domain account, etc. You can always add another account later, but again it is much easier to know ahead of time. A company security policy may state for example that the local administrator cannot be an SQL administrator.
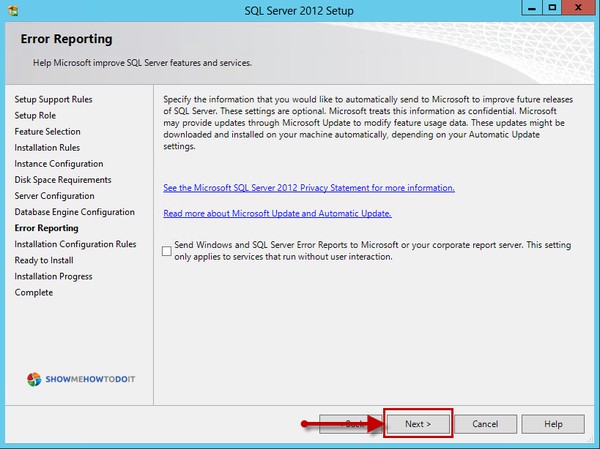
17. Check if you wish to Send Windows and SQL Server Error Reports to Microsoft and click Next.
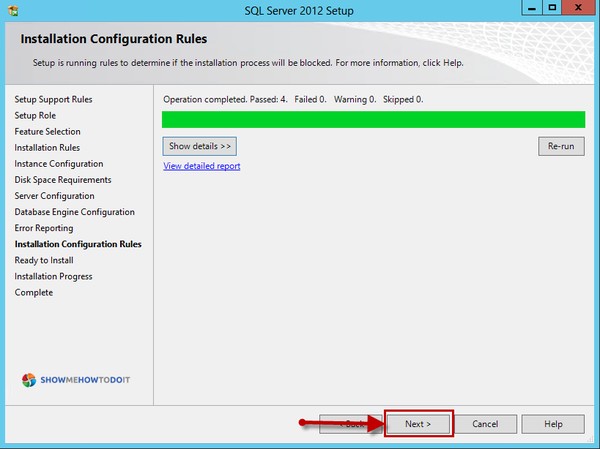
18. Click Next on the Installation Configuration Rules.
19. Click Install on the Ready to Install step.
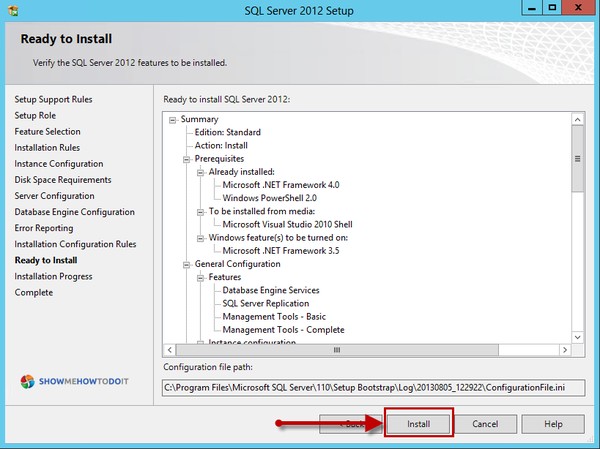
Note: Pay attention to the configuration file path. This can be used to automate future installations of SQL server or as a documentation step on what options were selected for the setup wizard.
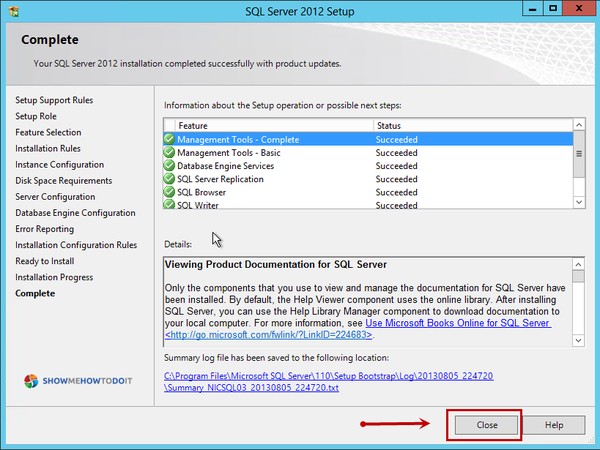
- When everything gets installed, the setup will display a Status of Succeeded for each feature. Click Close and follow with a reboot (optional).