Windows Server 2016 WSUS Initial Configuration Guide
In this article, we will go over the Windows Server 2016 Update Services initial configuration. Once the WSUS role is installed, there is a Post-deployment configuration that needs to be performed from the Server Manager for WSUS 2016 to be operational.
How to configure WSUS 2016 after installing this role
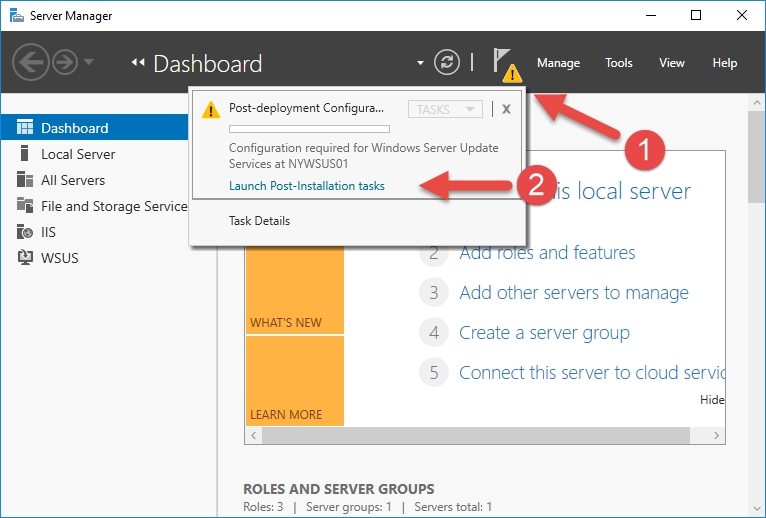
1. From within Server Manager, click on the yellow warning icon and click on “Launch Post-Installation tasks”.
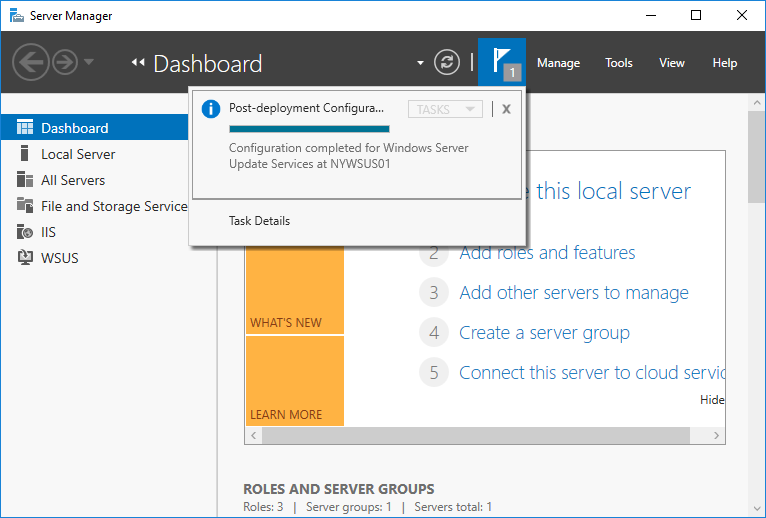
2. This will most likely consume some time.
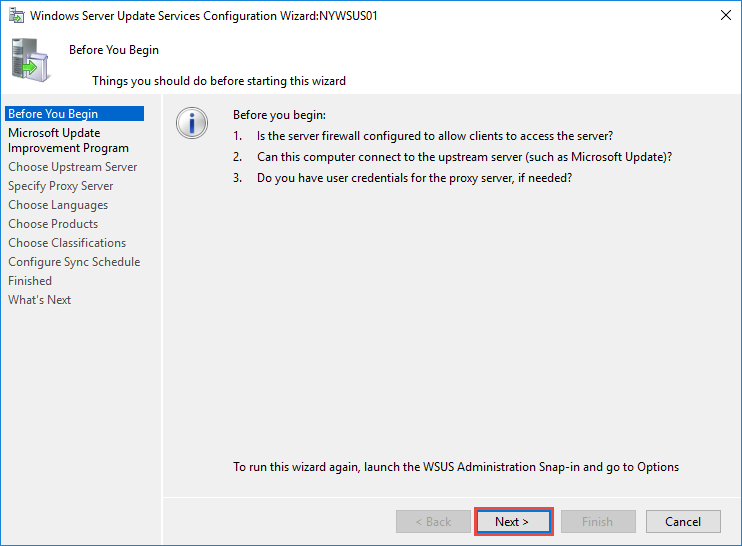
3. Launch Windows Server Update Services from Windows Administrative Tools. Click Next.
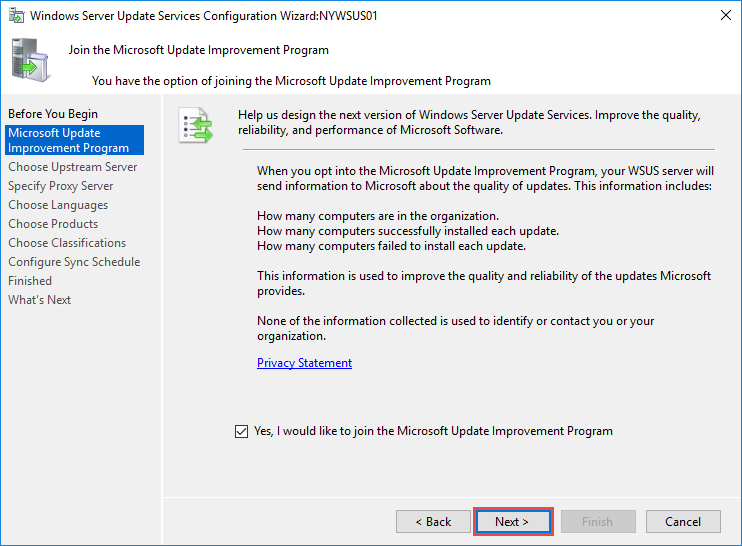
4. Check or un-check the option to join the Microsoft Update Improvement program and click Next.
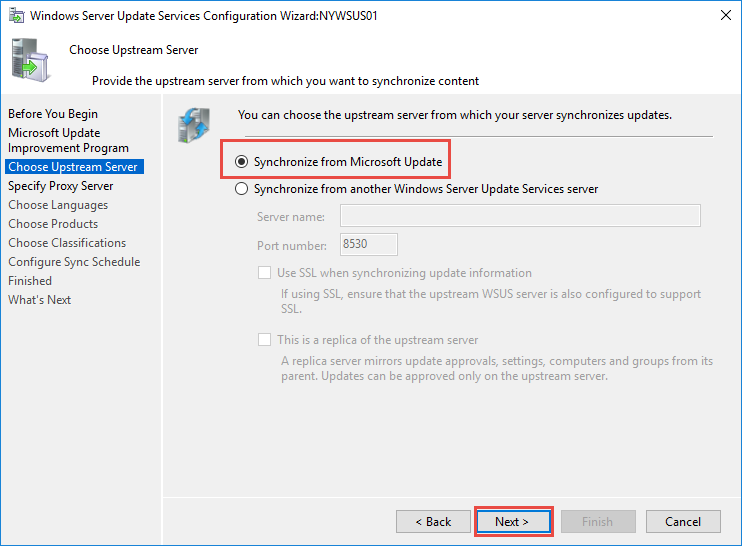
5. Since this is the initial WSUS server, we will select the option to “Synchronize from Microsoft Update” and click Next.
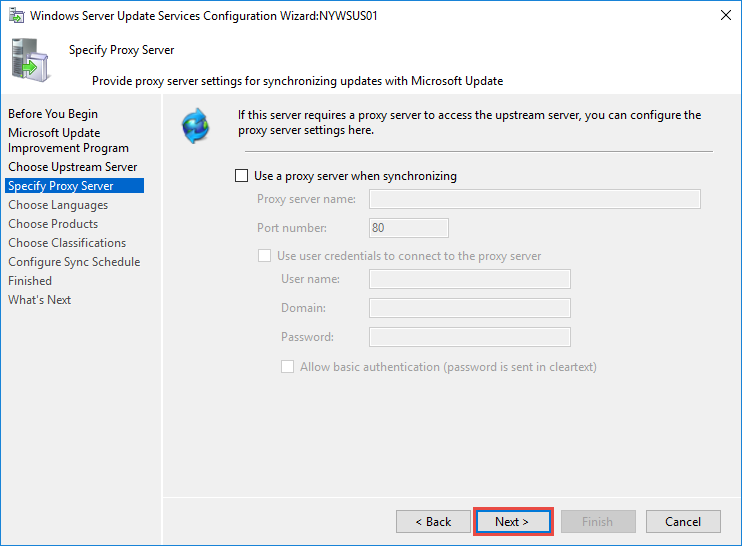
6. Click Next on the “Specify Proxy Server” dialog.
If you utilize a proxy server, then enter the appropriate information.
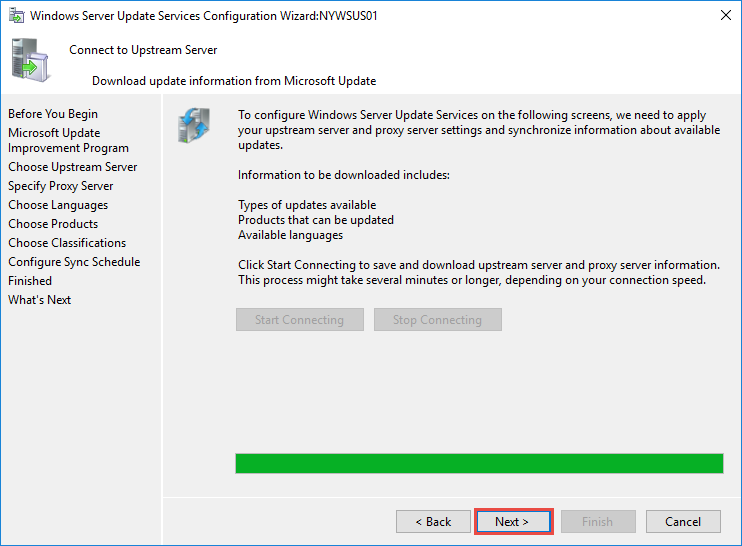
7. Click on Start Connecting in order to connect to the Microsoft servers and download available options.
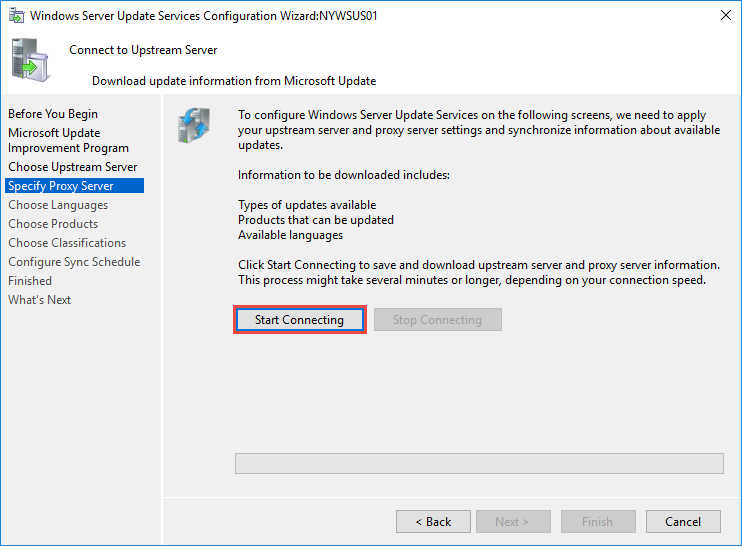
8. Connecting and download update information from Microsoft Update may take a while. Once complete, click Next.
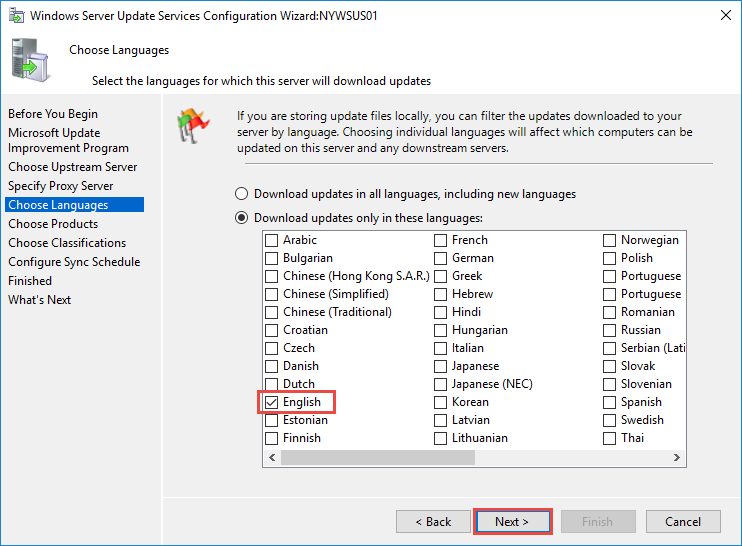
9. Select the appropriate language(s). In our instance, English is the only needed option and click Next.
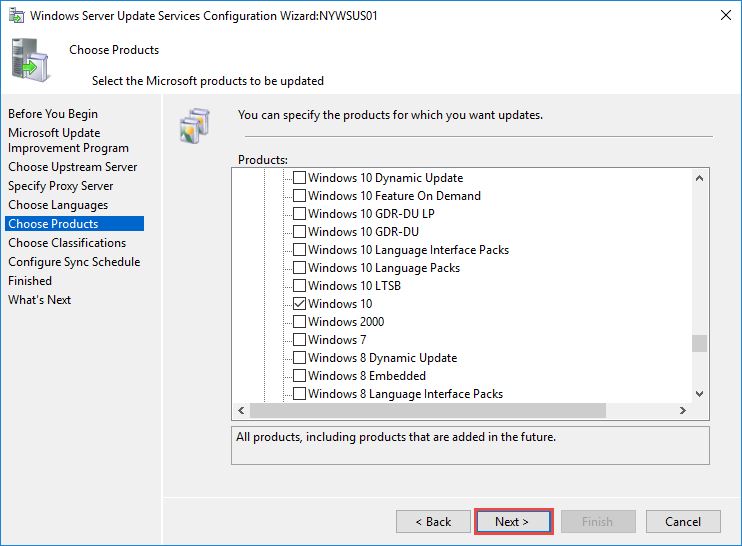
10. Select the appropriate products for which updates are desired. The default options may not be appropriate. For our setup we will deselect all default choices and select only Windows 10. Click Next.
You should be aware of your needs and select the appropriate products. You can always add additional products later. This list also gets updated when new Microsoft products are released and WSUS syncs with the Microsoft Update servers.
11. Select the appropriate classifications of updates that need to be synchronized and click Next.
Be aware that the more products and classifications are selected, the more storage space will be required.

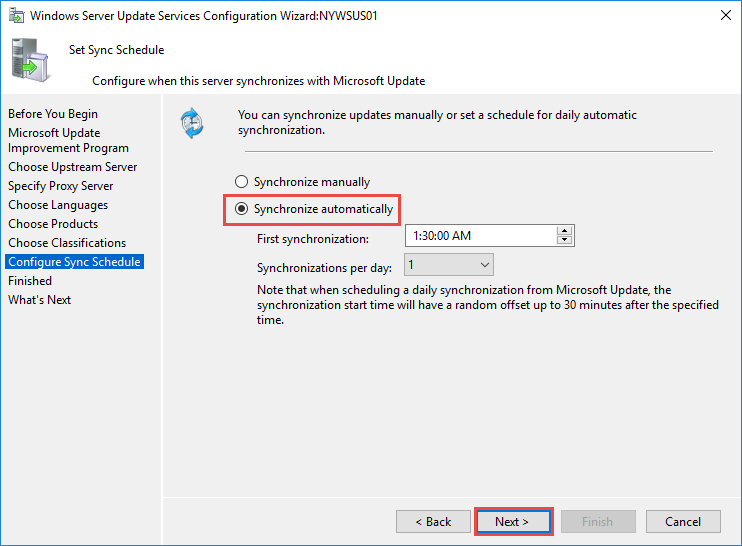
12. Select your preferred synchronization option and click Next. Synchronize manually might not be appropriate for “time-constrained” administrators.
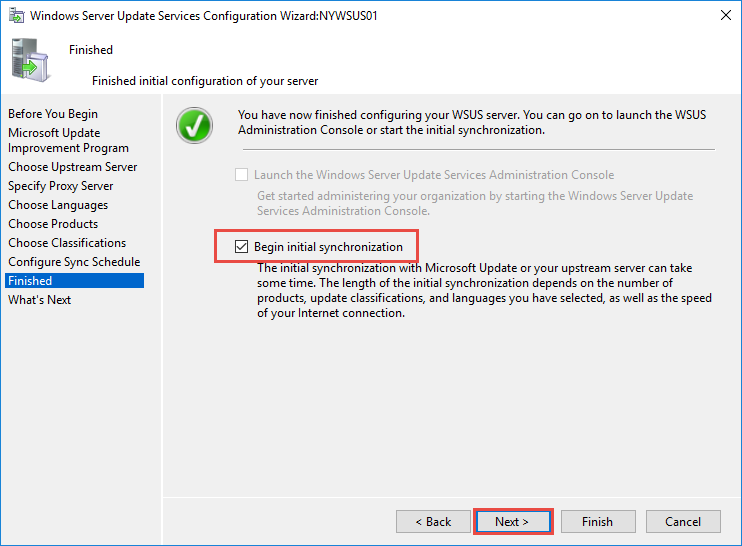
13. Check the “Begin initial synchronization” and click Next. If you do not want to perform this action now, you can wait until the synchronization schedule takes effect.
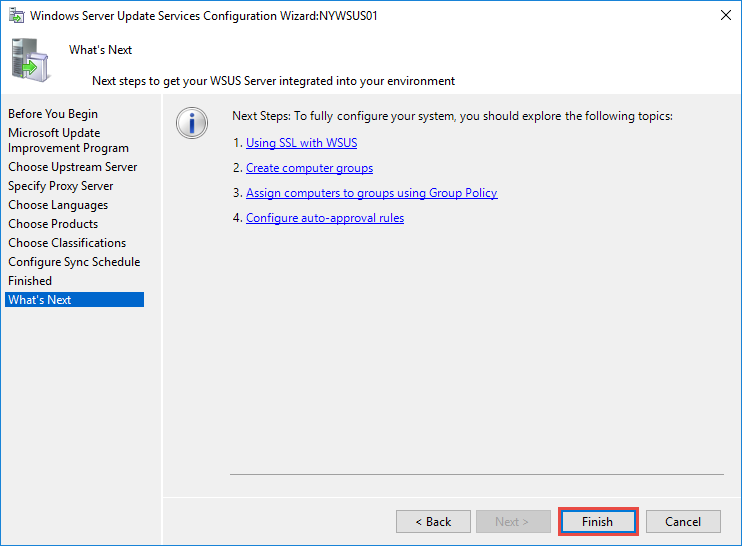
14. Click Finish.