Citrix Linux VDA 1.4 CentOS 7.2 - Linux VDA Installation
This is a step-by-step guide on how to install and configure the Citrix Linux VDA 1.4 on CentOS 7.2.
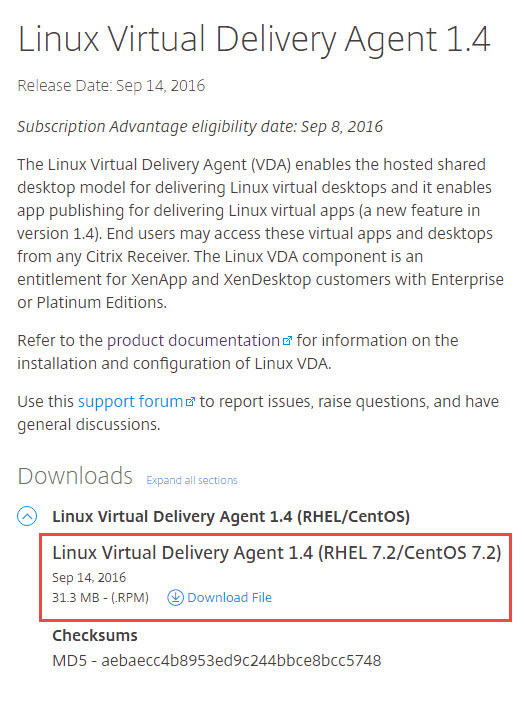
Download the Citrix Linux VDA 1.4 for RHEL 7.2
Transfer the file to the VDI machine. In this instance, we have used WinSCP, created directory /tmp/vda and placed the rpm file there. Navigate to the folder and execute the following command:
sudo rpm -i citrix-linuxvda-rhel7-1.4.0.rpm
Once this is installed, the it needs to be configured running the following command:
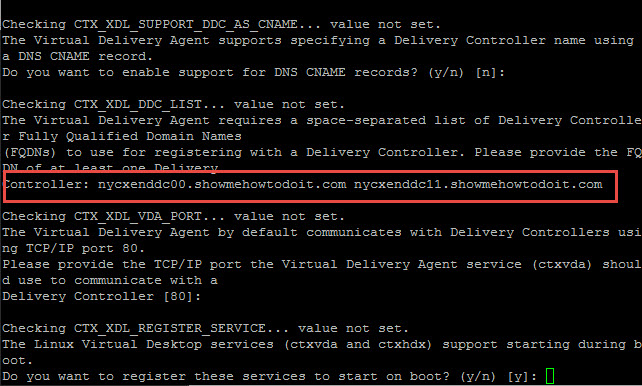
sudo /opt/Citrix/VDA/sbin/ctxsetup.sh
You can automate the process and the Citrix article provides the values to populate the values as parameters, but here since this is a single machine, we will utilize the command prompts and basically select the default values except when defining the Delivery Controllers.
Start the VDA
sudo /sbin/service ctxhdx start sudo /sbin/service ctxvda start
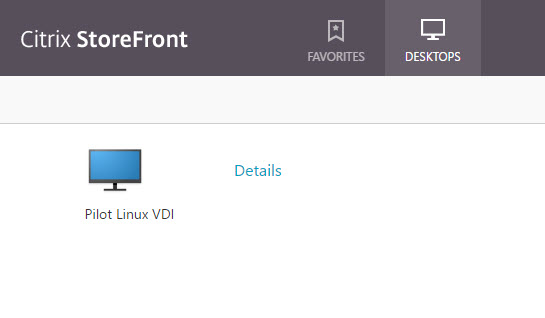
Now navigate back to the Delivery Controller, Citrix Studio. The VDI machine should show as “Registered”.

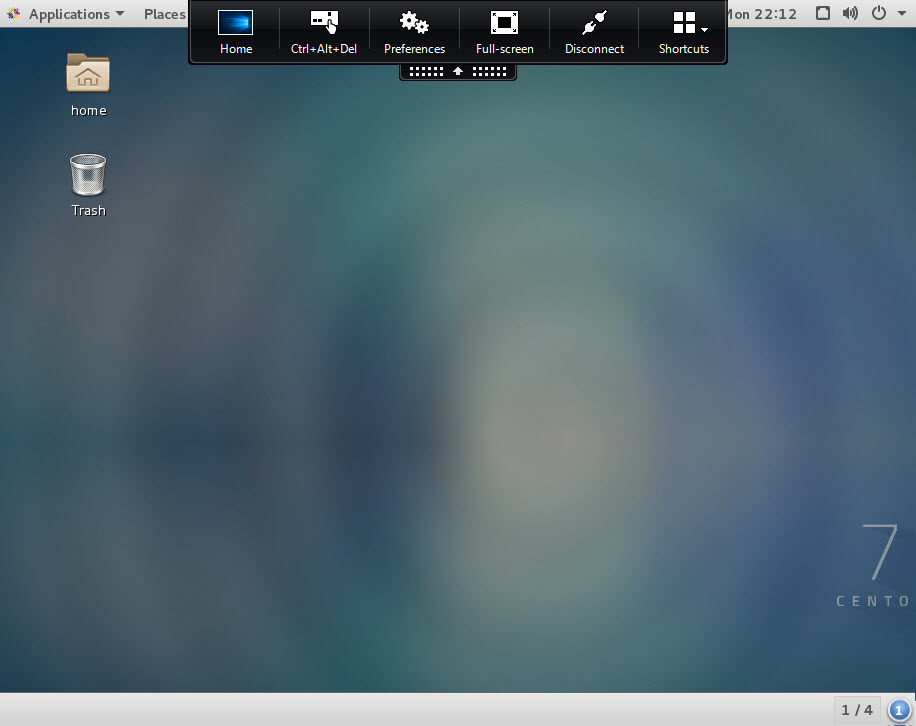
You should now be able to launch the Linux VDA desktop.