How to configure Citrix Command Center LDAP authentication
Active Directory Authentication for CCC
Assuming that Citrix Command Center is implemented a number of devices, it may be best to configure central authentication such as Active Directory (LDAP) instead of creating local accounts. This post will guide you on how to configure LDAP Authentication for Citrix Command Center.
Guidance on how to configure LDAP Authentication for CCC
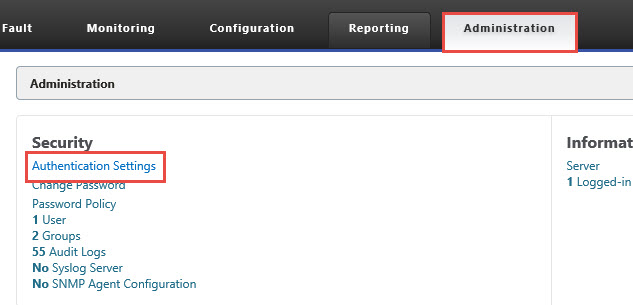
1. On the Administration tab, click Authentication Settings.
2. Select Active Directory and enter the necessary information. As you can see from the screenshot, configuration is similar as to when configuring a NetScaler for LDAP configuration. Click OK when complete.
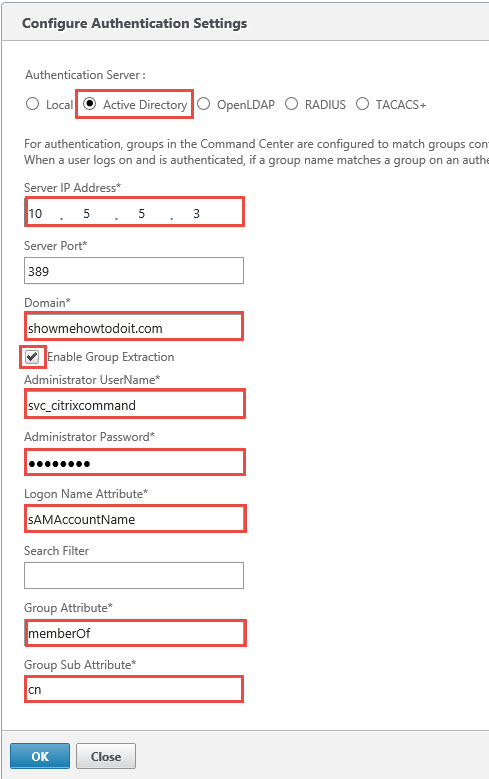
Note: As of this writing LDAPS (636) authentication was not supported so you may want to check release notes to check whether LDAPS is available.
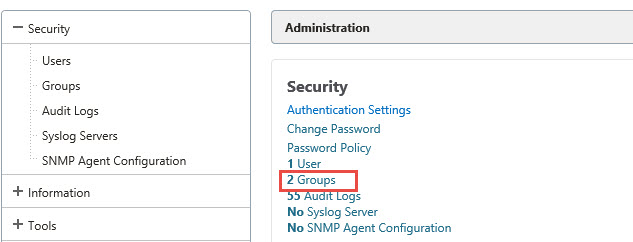
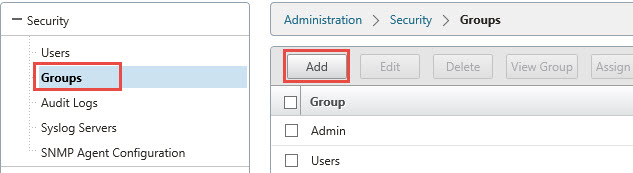
3. Back in the Security section, click Groups.
4. Click Add.
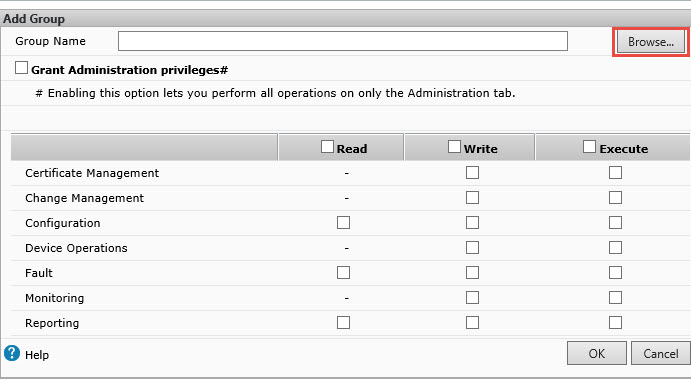
5. Click Browse. This will connect to AD. If you receive any errors, check your values entered on step 2 above or perform basic network troubleshooting such as connecting to port 389 on the Active Directory server.
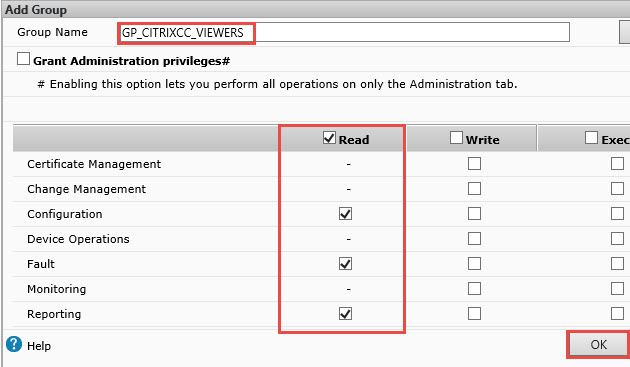
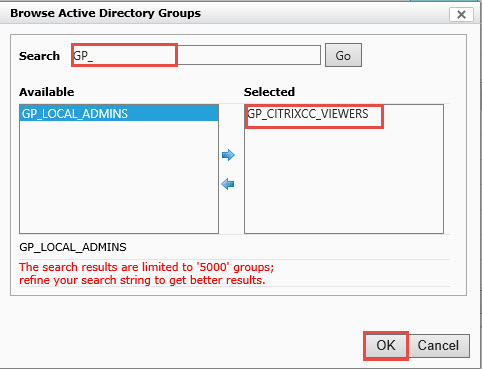
6. Type the group name or first few characters of the AD group you wish to enable permissions for. Matching groups will be displayed in the Available area. Click the appropriate group and move it to the Selected area. In this situation, we configured an AD group which we wish to grant Read access only. Click OK.
7. Since we are granting Read access to this group, we checked the Read option. You may wish to have multiple groups for different level of access or just a single group. Click OK.