How to integrate Active Directory and Unidesk
Step by step guide on how to perform Unidesk Active Directory integration. Unidesk refers to this as creating a Directory Junction.
You may want to create an Active Directory service account before performed below.
Guidance on Unidesk Active Directory Integration
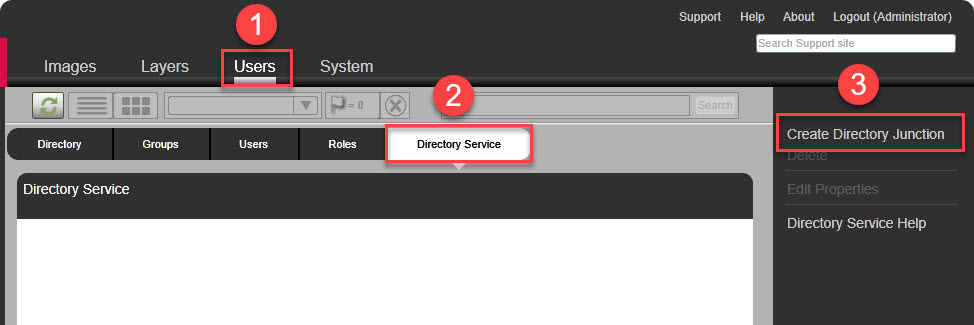
1. Log in to the Unidesk appliance and navigate to Users, Directory Service and click Create Directory Junction on the right.
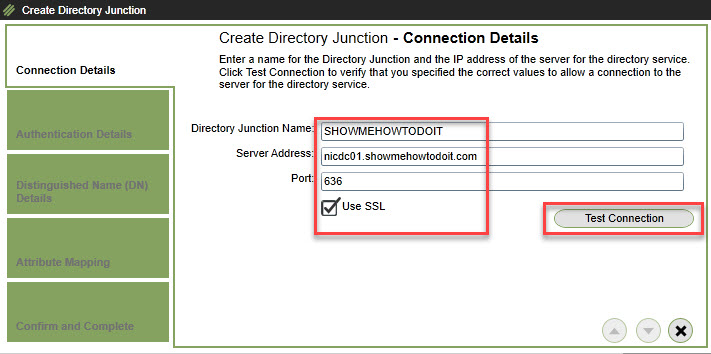
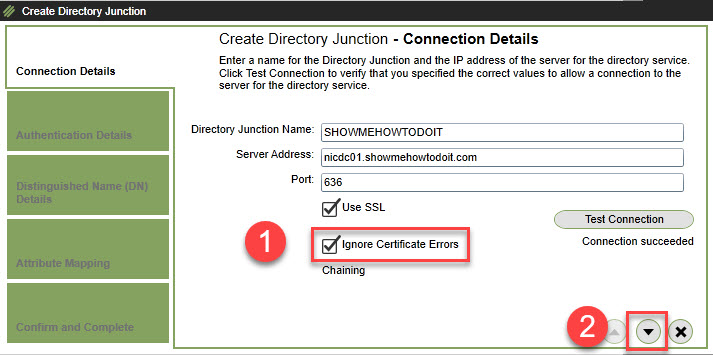
2. Provide a name for this Directory Junction, enter a domain controller. It is recommended to “Use SSL” but you could also use Port 389 which does not provide encrypted communication during authentication to Active Directory. Click Test Connection.
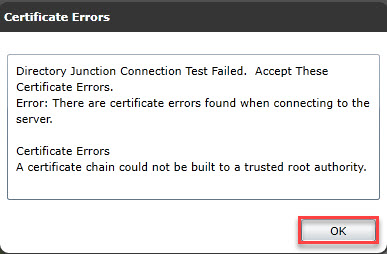
3. In most cases, if both Active Directory and the Unidesk appliance do not utilize certificates from a common PKI infrastructure, you will receive the following error. Click OK to proceed.
4. Check the option to Ignore Certificate Errors and click the down arrow to proceed.
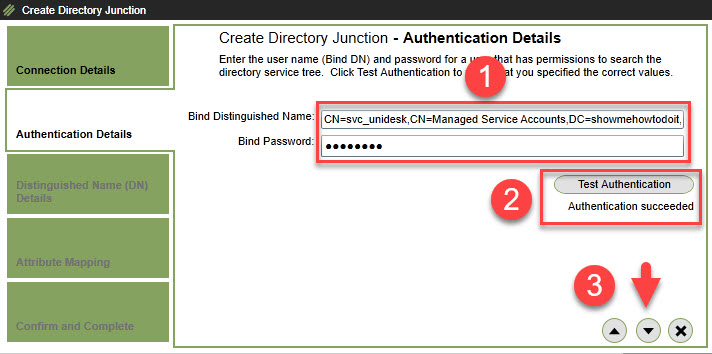
5. Enter the distinguished name (DN) of the service account, password, click Test Authentication and once Authentication is successful, click the down arrow to proceed.
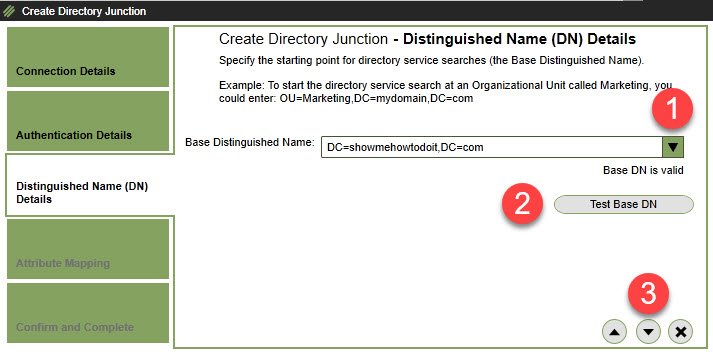
6. From the drop down option, select the domain, but you can restrict the starting point for directory service searches depending on your needs. Click Test Base DN and once successful, click the down arrow to proceed.
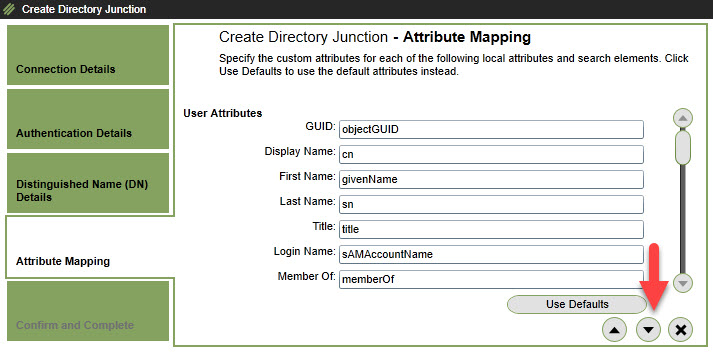
7. Leave the default attributes and click the down arrow to proceed.
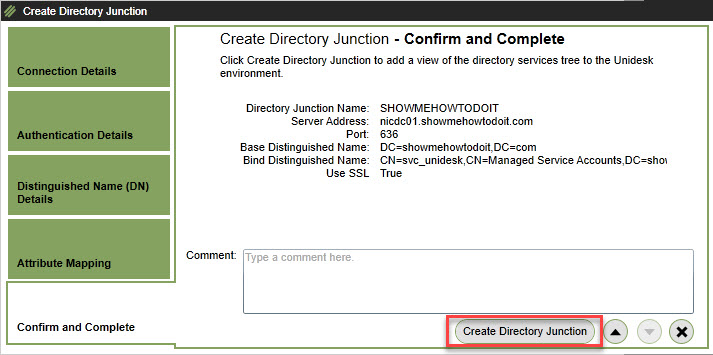
8. Click on Create Directory Junction to complete this task.