How to Use AWS Amplify Hosting for Your Docusaurus Documentation Site
This article will provide guidance on how to use AWS Amplify Hosting for the Docusaurus documentation site template. Docusaurus is an open-source React site template that it is ideal for documentation. Along with GitHub, AWS Amplify will enable to update your website automatically by simply pushing git updates to your GitHub repository.
AWS Amplify may be a solution best known as a complete solution that lets frontend web and mobile developers to build full-stack applications from core AWS services.
But AWS Amplify offers a hosting option that makes it very easy to host a site in few steps and can be an excellent choice for static web apps such as the Docusaurus static site generator. Docusaurus helps you create documentation sites similar in format to what AWS is using for its own documentation such as AWS Amplify https://docs.aws.amazon.com/amplify/latest/userguide/welcome.html.
As per AWS, this can be a very simple process and can be up and running in few minutes with a basic website.
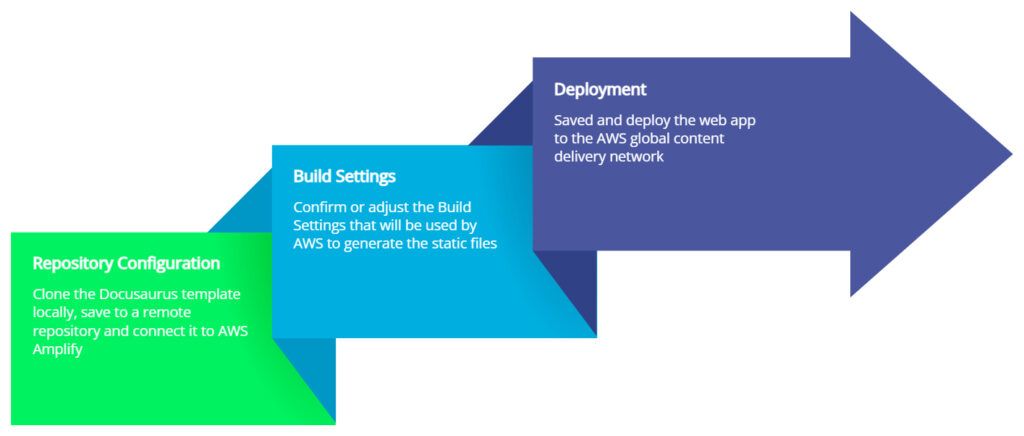
Repository Configuration
Docusaurus provides a quick tutorial on how to get started at https://docusaurus.io/docs#fast-track, but basically you need Node.js and Git configured. Once these are configured, you would basically clone the Docusaurus files locally, then create a remote repository in GitHub (you can also to opt to use other repository systems such as AWS CodeCommit), and then connect the remote repository within AWS Amplify.
Simply create a folder on your computer and execute the following commands:
npx create-docusaurus@latest my-website classic
cd my-website
Next navigate to GitHub and create an empty repository.
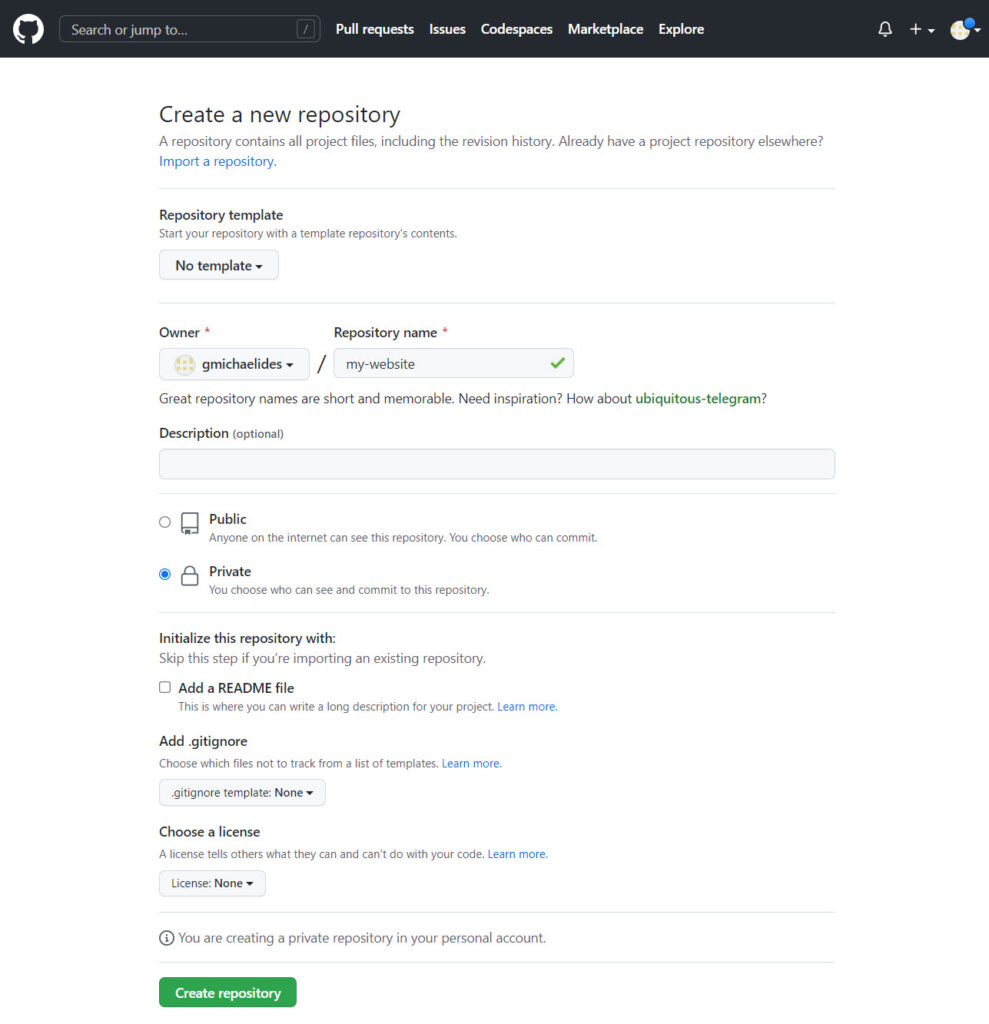
Once you have the repository created, you can initialize the local repository, configure the remote repository, commit the local repository and push it to the remote repository. Navigate to the my-website local directory.
Example commands:
git init
git add .
git commit -m "Initial Commit"
git branch -M main
git remote add origin https://github.com/user/repo.git
git push -u origin main
Note: Remember to modify the “git remote add origin https://github.com/user/repo.git” with the patch of your unique repo.
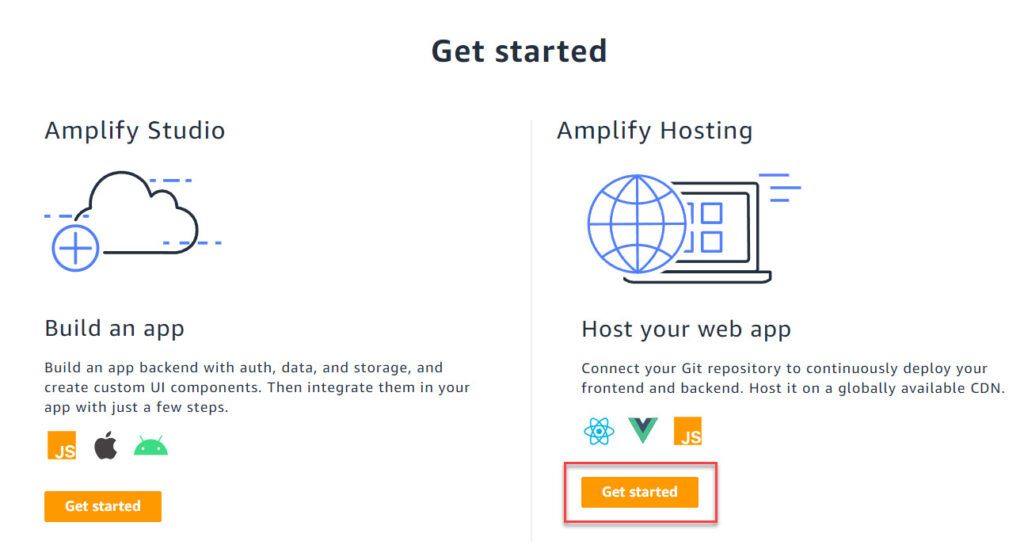
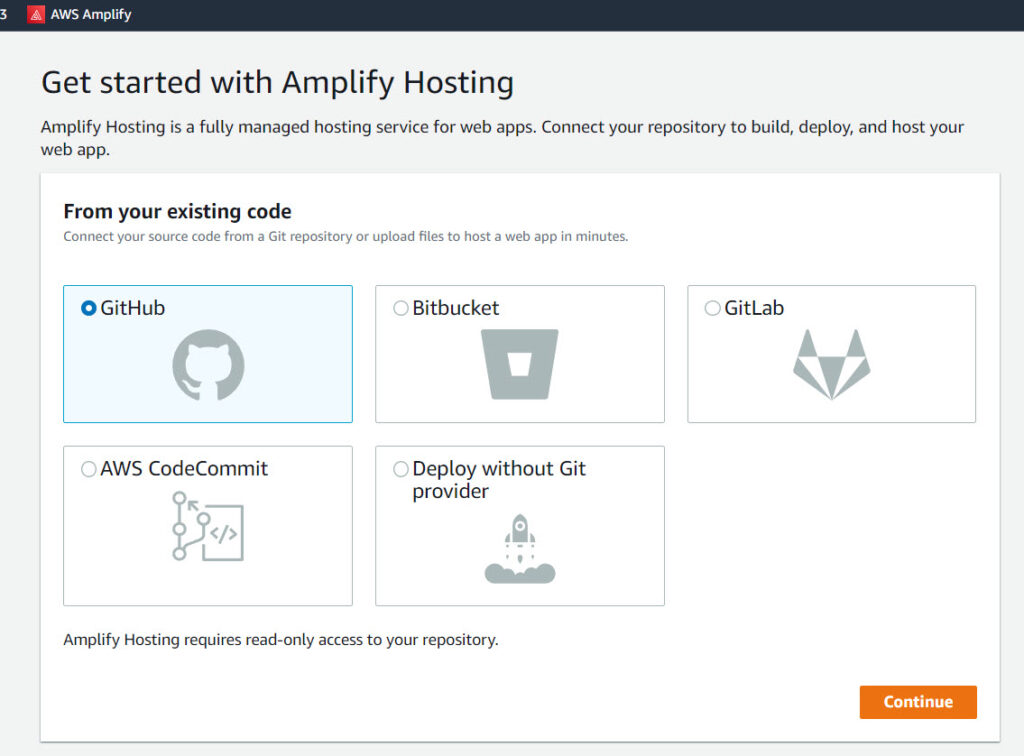
Once you have the repository pushed to GitHub, login to the AWS console and find AWS Amplify. If this is the first time using AWS Amplify, select the Amplify Hosting and click on Get Started.
Select GitHub.
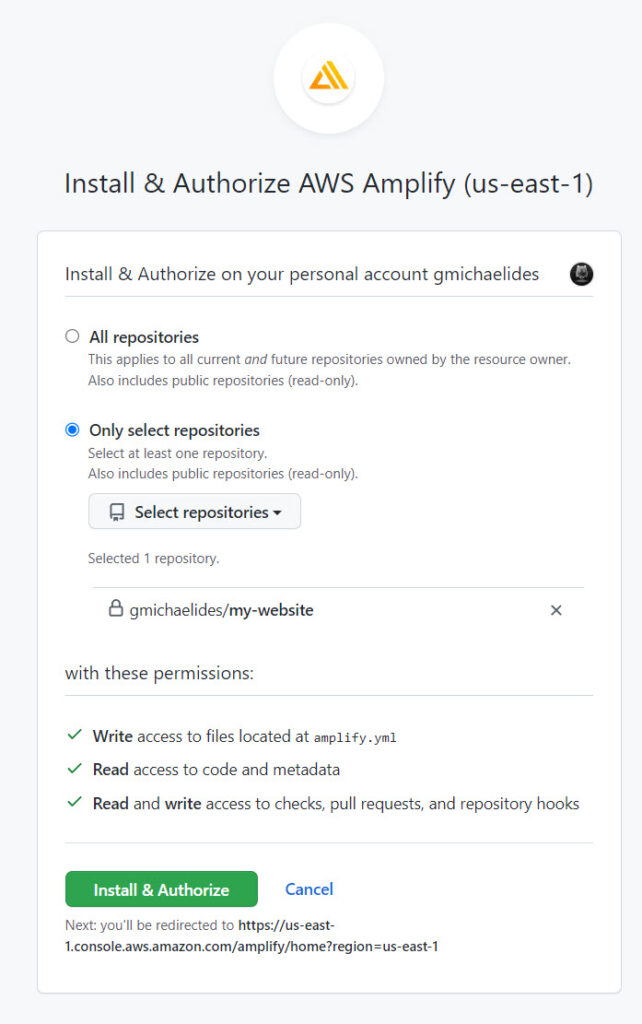
AWS Amplify will try to connect to GitHub and authorize access. You may select to authorize “All repositories” or “Only select repositories”. In this instance, only the specific repository was selected.
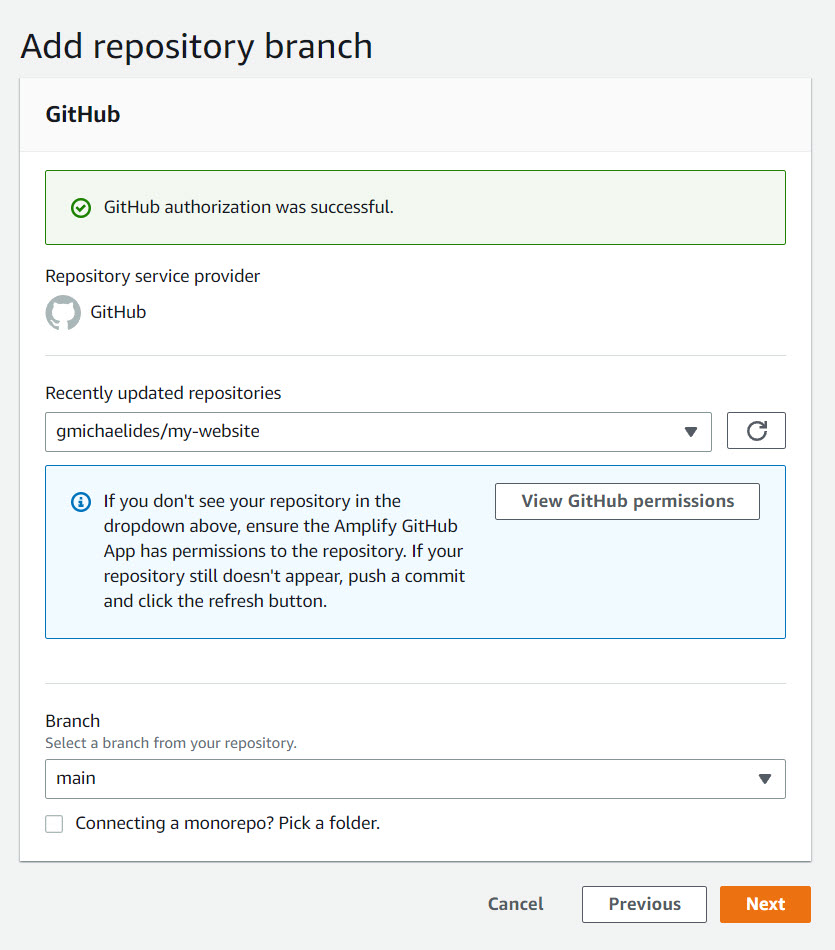
Also, you will have the option to select a specific branch if you have more than one.
Build Settings
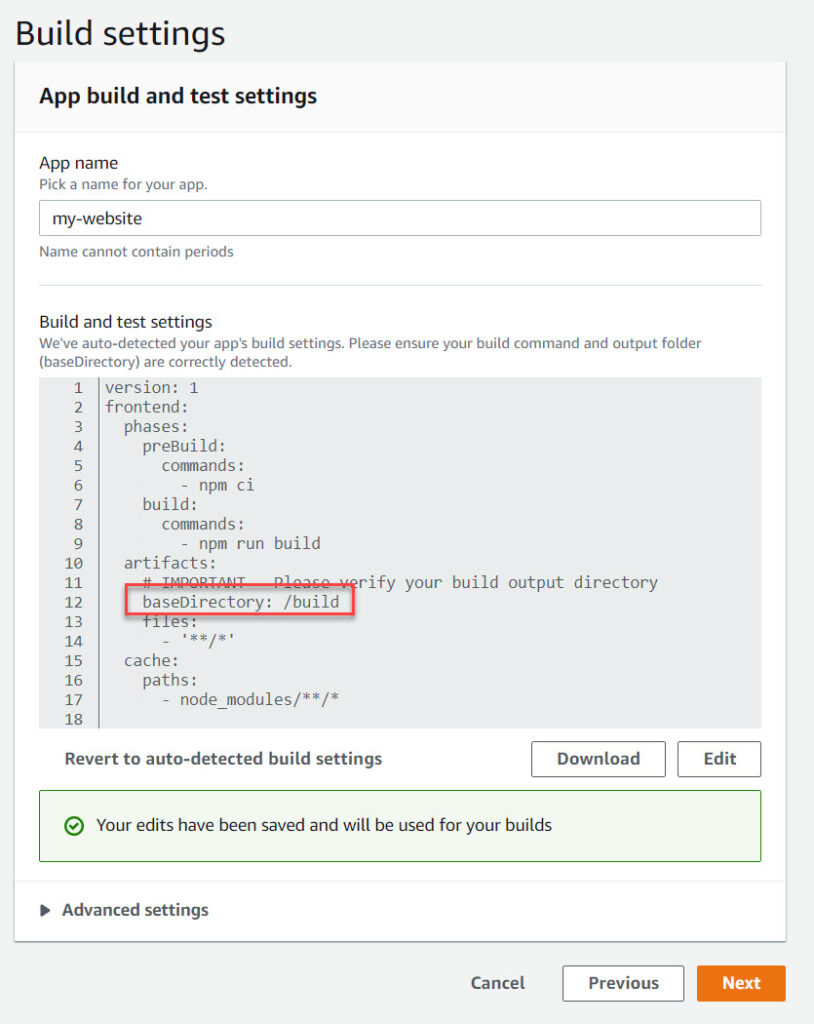
Build Settings may be the most important step that will need some attention as these are the instructions for building the website files. AWS Amplify will try to detect those settings automatically but you may need to review them. Different static generators utilize different paths, for example Hugo typically utilizes /public.
In our instance, Docusaurus utilizes /build, so click on Edit and adjust the baseDirectory: to /build.
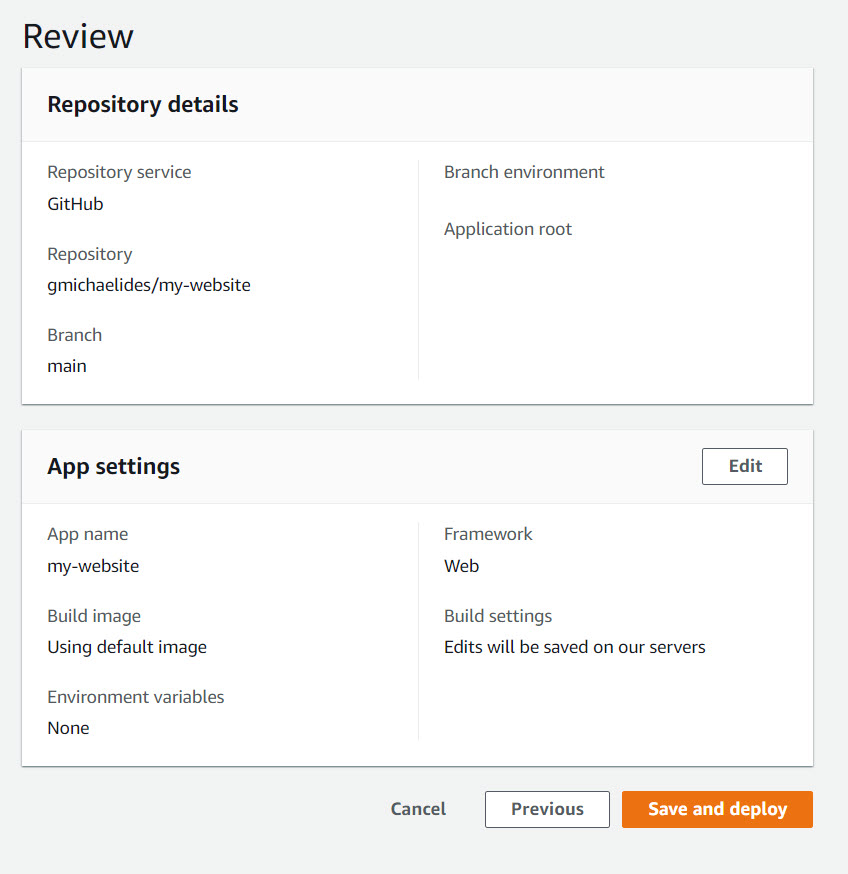
Deployment
Once you have review the Build Settings click on Save and Deploy to start the process of deploying the website.
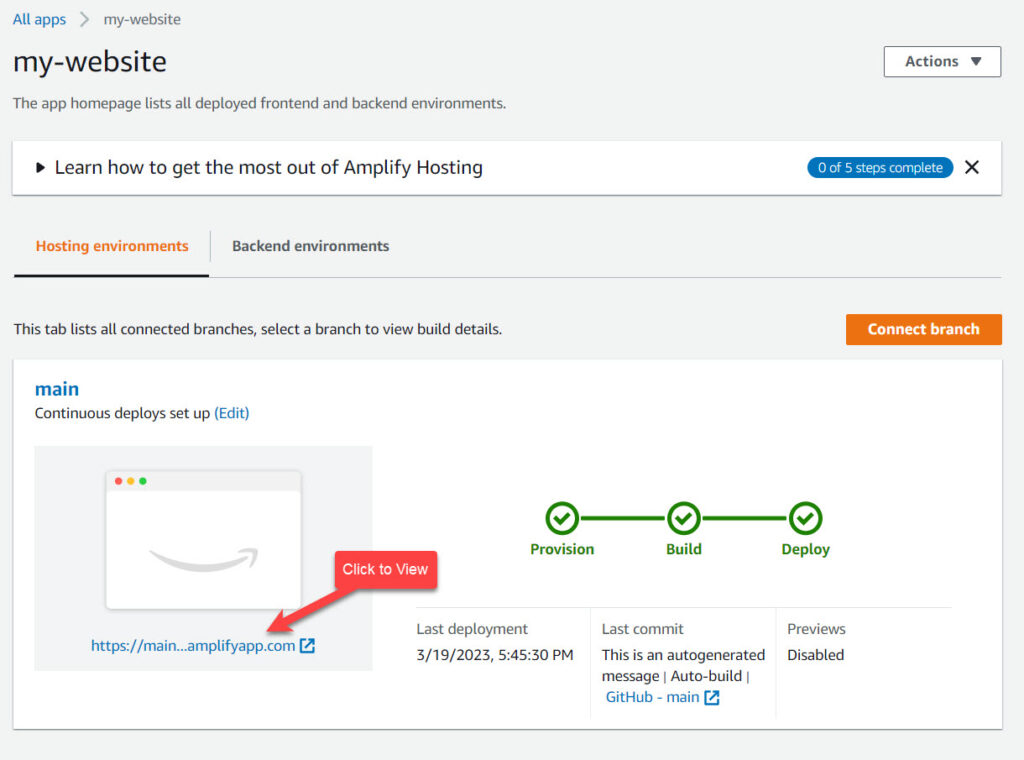
Once the site is provisioned, you can click on the link to view the actual published website.
Additional Steps
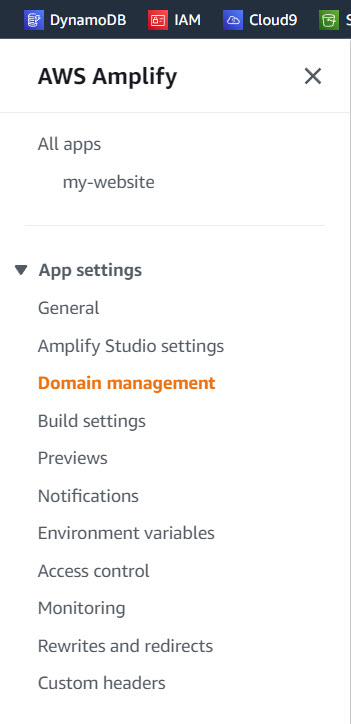
To use the website with your unique domain name such as docs.example.com, you will need to configure Domain Management which involves adding and verifying ownership of the domain. This will also provide a digital certificate.
Additional options are available such as Notifications, Custom headers, etc.